In the previous post, I told you about my Winter Emergency Kit that I keep in the back seat of my car and how I organized it. That one is kept there to make it easily accessible in case of emergency.
This is part 2. The Winter Emergency Kit for the Trunk of the car. I’ll show you what I keep in my trunk all Winter long & how I organized it.

What I use:
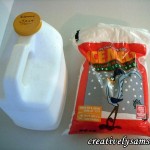
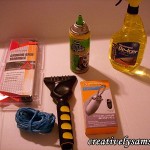
Salt (in case you’re stuck on ice)
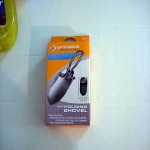
Shovel (mine is a small folding shovel that can be found in the camping section )
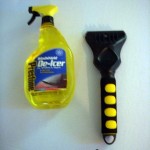
De-Icer (I can not tell you how many times my doors have frozen shut, but my trunk will open)
An ice scraper (not only does this scrape the ice & snow from windshield, but will help to make a ‘channel’ around the door for the De-icer to do its job)
Fix-a-Flat (Emergency Flat Tire Repair)
Reflective Triangles (or road flares)
I put the bag of salt into an empty kitty litter container to keep it dry & I’m always afraid that a plastic bag will tear & spill.
(I also keep one by the front & back door of our home)
And for the crafty section:
Empty Cat Litter Jugs (I have cats, so I’m always looking for new uses for the empty containers instead of recycling them). If you don’t have a cat, I’m sure you have a friend or neighbor who would be more than willing to save theirs. (or you could use a box, bucket, tote etc..)
Cutter (Razor Blade or Exacto Knife)
Ruler
Sharpie Marker
Empty a cat litter container & Remove the Label:

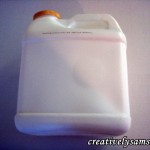
Now, lay out your supplies to judge the height that you want the container to be:
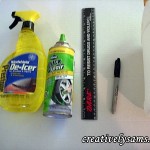
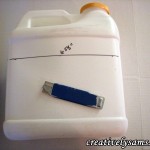
Mark the container with the Sharpie Marker. Measure the height that you’ve chosen all the way around the container using the ruler & Sharpie. Mine was 5 1/2″ high. Connect the dots all the way around.
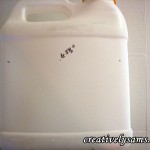
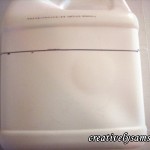
Using the razor/cutter, cut the container on the solid mark you’ve just made. The cutter is sharp. Please be careful.
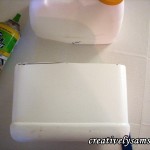
Label the container, if you wish. (I’m a little obsessive, so I label it)
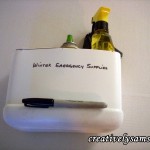
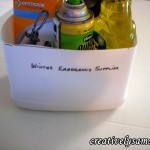
Pack the container:
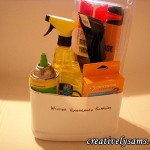
It’s an easy kit to put together & something that could keep you safe or save your life. I honestly think that every vehicle should have one. (There is also an extra blanket & a set of booster/jumper cables kept in the trunk)
Winter is beautiful to look at, but can be dangerous. Stay safe out there.
Happy Creating everyone!
I’ll be joining:
We Heart Organizing


