Sewing Room Upper Cabinet Re-Do

The sewing room is coming along.  There’s a new addition to the room that gives me even more storage. (which in a 6′ x 7′ room, you need storage)

We got this upper cabinet from my mother-in-law.  (Her neighbor had given it to her when the redid their kitchen)  It was in good shape.  Although it only had one door, but that is fine.  It just needed a little ‘Creatively Sams’ added to it.

Here it is, before & after:

Before - After

Continue reading

Art by Lori Barnes

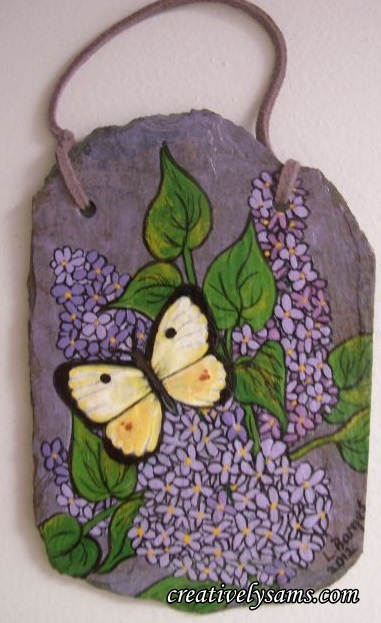
I just want to take some time to show an artwork piece by a local artist.  Her name is Lori Barnes, and she has a God given talent.  To say the least, I am very impressed with her work.

Lori is a dear friend of mine.  She knows how much I like purple & lilacs.  She gifted this piece to me for Christmas.

Art by Lori Barnes

She tells me that the butterfly is a Clouded Sulphur Butterfly.  Although I’ve never seen one, I’ve seen pictures on the Internet, and her painting of the butterfly is precise.

Clouded Sulphur Butterfly by Lori Barnes

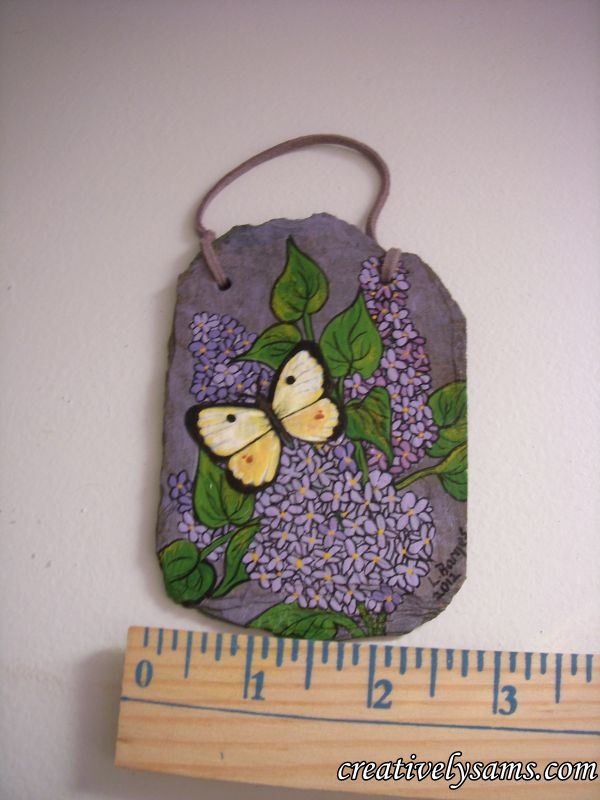
What I find amazing about her art, is not only the detail, and that is is painted on a piece of slate, but the size of her art work piece.

It’s only 3″ long by 2 1/2″ wide!

Lori Barnes' Artwork

I’m glad that I got the chance to share such a talent with all of you.

Thank you Lori, for such an amazing gift.

Happy Creating everyone!


Father’s Day Tablescape

I wanted to do something special for Father’s Day.  Our son has been blessed with a wonderful father.  Other than just giving my husband a card & gifts, and make his favorite dinner (Rigatoni),  I wanted to make the table feel as special as he is.

Father's Day Tablescape

Continue reading

Father’s Day Photo Centerpiece-tutorial

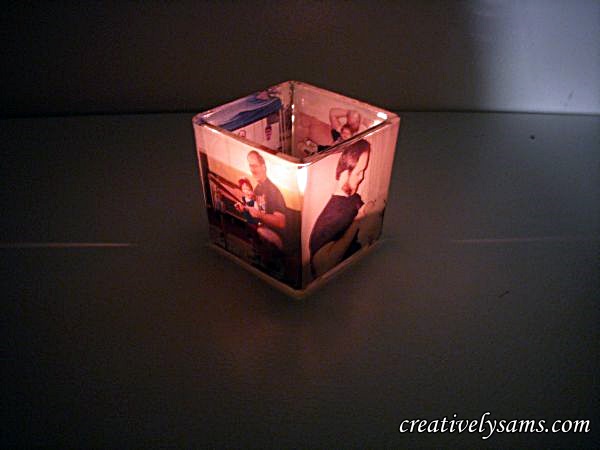
Father’s Day is just around the corner.  I’ll be doing one of my usual tablescapes.  But I needed a centerpiece for it.  I could have put flowers on the table, but I thought that was too girly for a man.  I could have used a cake as a centerpiece, but that idea bored me.  I needed something special for a man who is not only the glue that holds this family together, but a wonderful father. It had to be unique.  Then the light bulb went off in my head.  And by now, you know that when I get an idea in my head, I’ll find a way to make it work. This is the idea that I came up with:

candle lit.

And this is how I did it:

Continue reading

Stitch Swatch – for decorative embellishments

I can’t believe that I didn’t think of this sooner.  I like to sew.  (the sewing machine is never put away)  But I usually just use a straight stitch, like when I’m making placemats.

I’d made a stitch swatch for the larger more solid stitches years ago:
Stitch Swatch-large stitches

When I’m going to add an embellishment to a new set of towels, I can just look at the swatch & know exactly what it’s going to look like.  I don’t have to experiment every time I want to sew.  It’s right there in front of me. (Adding embellishments to inexpensive towels, gives them a more expensive look without the extra $$$)
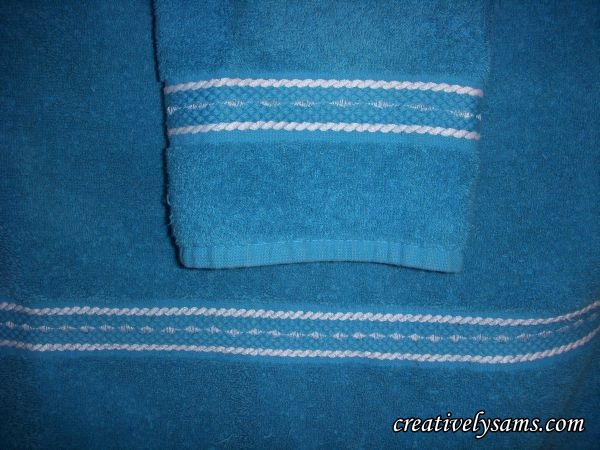
Embellished Towels

But I never made one for the smaller decorative stitches.

I was making some new napkins for a tablescapes & wanted to embellish the edges with some decorative stitches.  And I couldn’t decide which stitch I wanted to use by just looking at the pictures on my sewing machine.

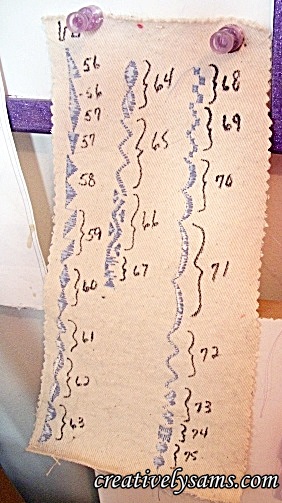
I got a long piece of cotton fabric and started to sew each stitch on the fabric.  I marked the number of the stitch next to sewn stitch so I wouldn’t get confused later on.  It also gave me the chance to mark which stitches need a little tweaking for the tension.  I just marked it right on the swatch. (as you can see for #38)
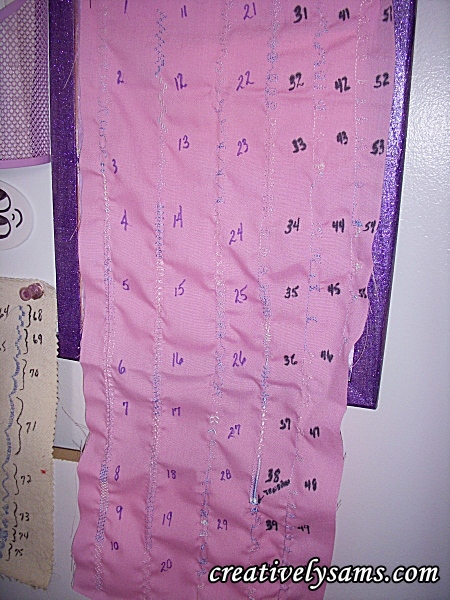
Stitch Sample Swatch

Now that I’ve made it, I’ll have no trouble choosing which stitch to use when I’m in the mood to decorate something.  This is how the napkins looked before I added the decorative stitches:

Napkins before adding decorative stitches

This is the stitch that I finally chose for my new napkins.  I really like the way they turned out.  I just may be adding a lot more embellishments to my napkins in the future, now that I can see how it will look!
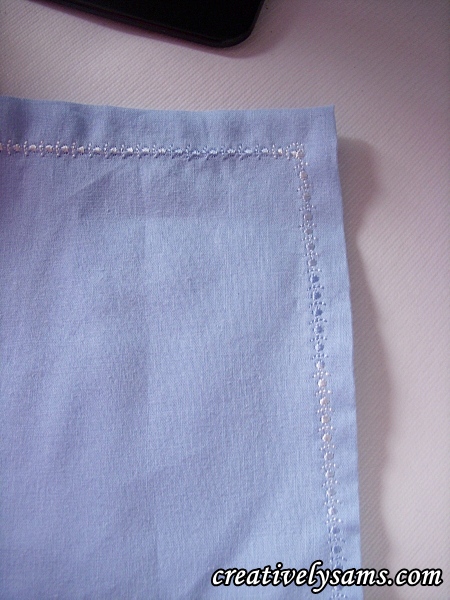
Finished Napkins with decorative stitches

I hope this gives you an idea or two to help you use the stitches that your sewing machine comes with.  I know that I’ll be using them more often in the future.

Happy creating everyone!


Lighthouse Tablescape

I love doing tablescapes. When I create a tablescape for my home, it not only makes the table and dining area look nice, but it makes dining an enjoyable experience. (even if it’s only hot dogs and french fries)

Since it’s almost the beginning of Summer, and vacation season is right around the corner, I’m longing for the beach.  But it doesn’t look like we’re going to make it this year.  So, to satisfy my longing for the beach, I’ve been creating a lot of things with sand, shells & lighthouses.

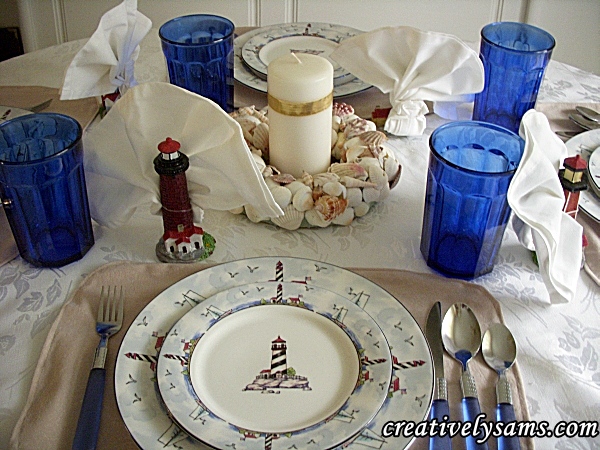
Welcome to my Lighthouse Tablescape.

Lighthouse tablescape

Continue reading

Lighthouse Napkin Holders

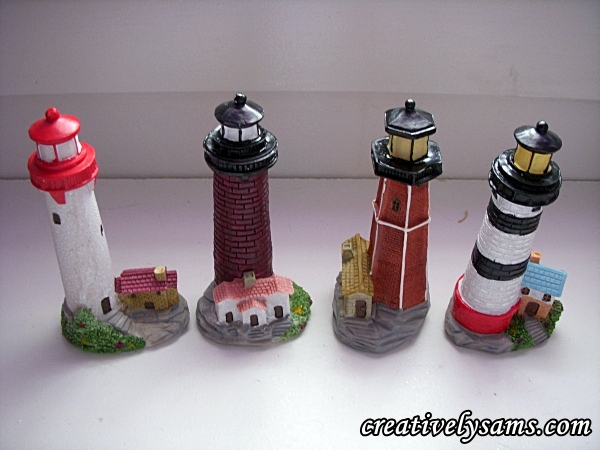
I found these little lighthouses at the Dollar Tree.

Lighthouses from the Dollar Tree


They are adorable, but they don’t exactly match my plates.

lighthouse Plate

And you know my motto by now.  If it isn’t exactly what you want, change it to make it yours! Continue reading

Golden Sea Shell Centerpiece

Living Well Spending Less is having a gold challenge.  It’s called the “The {ditto} DIY Challenge

I thought I’d give it a try.  The challenge?  Turn something gold and show it being used in your house.

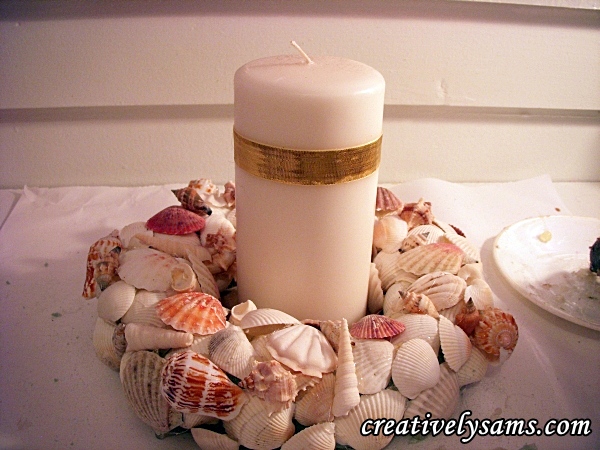
I thought I’d use the Sea Shell Centerpiece that I made in a previous post.Shell Wreath 1

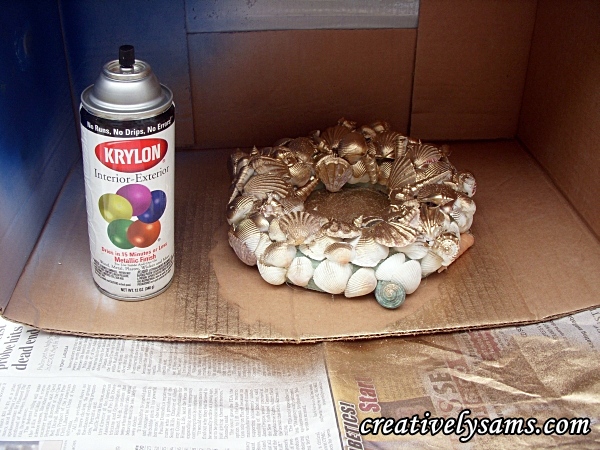
I started by getting out one of my favorite paints, Krylon Gold Metallic spray paint.  I took the centerpiece outside & started to paint.  There were so many nooks & crannies that I thought I’d never get it completely covered.

sea shell gold.Krylon paint

I kept turning the centerpiece in all directions.

shells gold

After about 1 1/2 hours (this includes drying time)  I finally got it completely covered.

(by the way, you can spray paint floral foam.  It doesn’t melt like Styrofoam does)

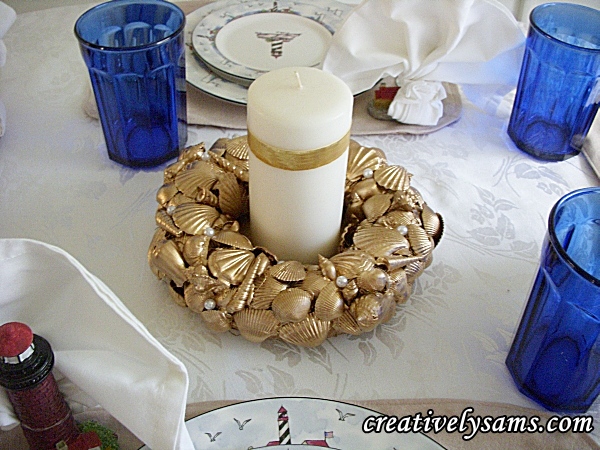
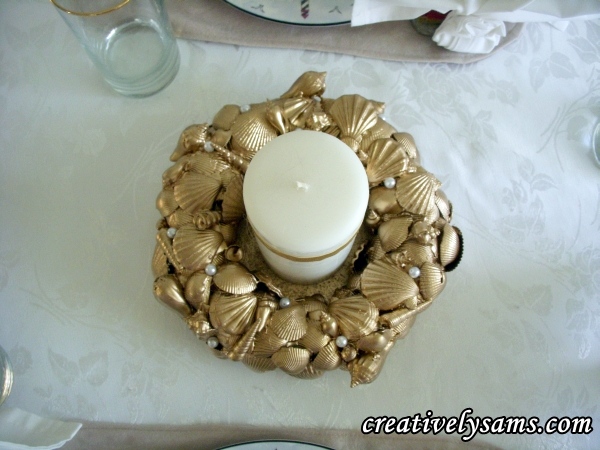
I added a white pillar candle that I had glued a gold ribbon to.  I thought that solid gold was a little too much, so I added some white pearls to it.  I used a clear tacky glue to adhere them to the shells.

Gold shell centerpiece

Here’s a top view of the centerpiece:

Gold shell centerpiece view from the top

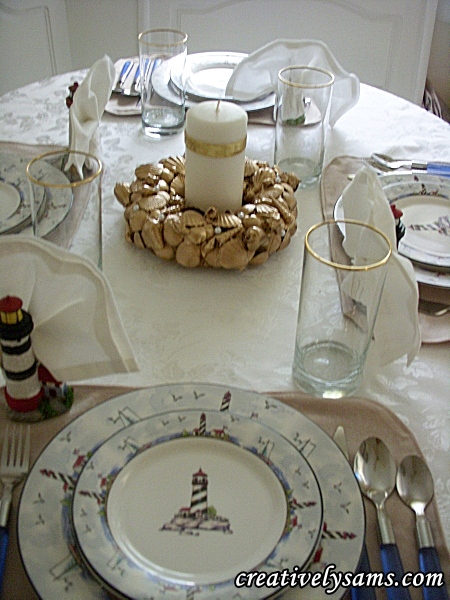
And here’s the centerpiece in place in a tablescape.

Lighthouse tablescape with gold shell centerpiece

I really like the way it turned out!

I hope you check out the challenge site & see what other bloggers have done with their gold.

Happy creating everyone!
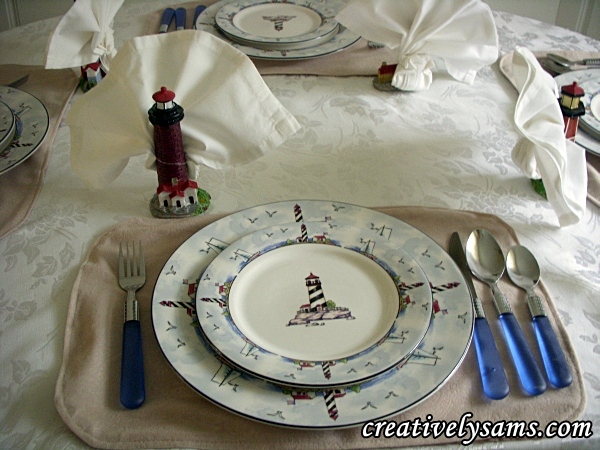
 

Sea Shell Centerpiece – tutorial

Since I have so many shells that I was collecting for my Playing in the Sand post, I thought I’d use them for yet another project. This time I decided to try a Sea Shell Wreath shape for my centerpiece.  I like the way it turned out.

Shell Centerpiece in place

Here’s what I used: Continue reading