Winter Emergency Kit

When I made this Emergency Kit for my car, my son laughed at me.  He wasn’t laughing when he broke down in 7 degree weather and his car had no power for heat.  At 21 years old, boys men think they’re invincible.  It could never happen to them. It was going to take AAA 3 hours to get to him.  Luckily, his Dad made it in 20 minutes.  By the time his Dad got to him, he was already seeing his breath in front of him. Organization is key to your Winter Emergency Kit…. I’m making one for him.

Winter Emergency Kit for the Car

Winter Emergency Kit

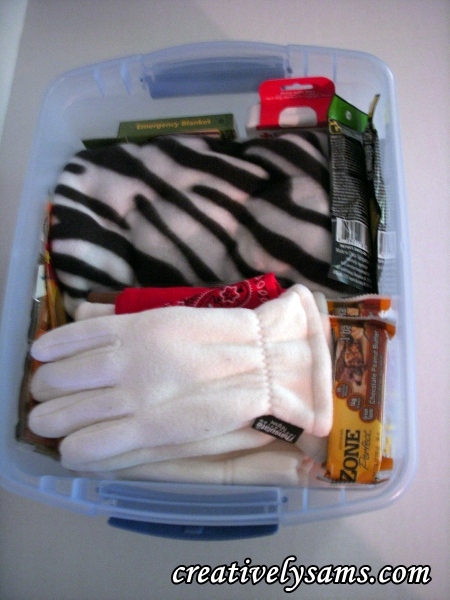
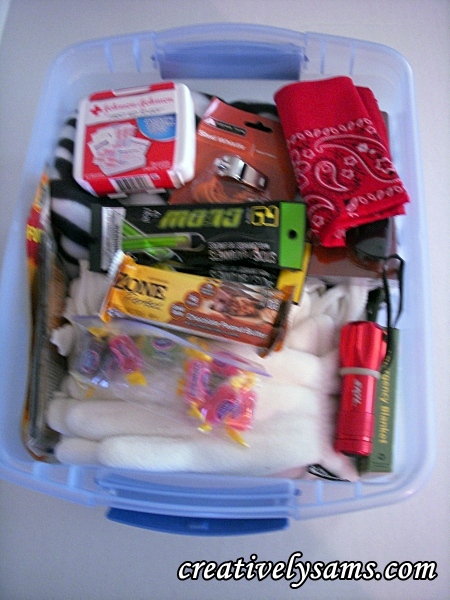
This box stays behind  the driver’s seat, on the seat, so it is easily accessible.  There is also a universal cell phone charger kept in the glove compartment.

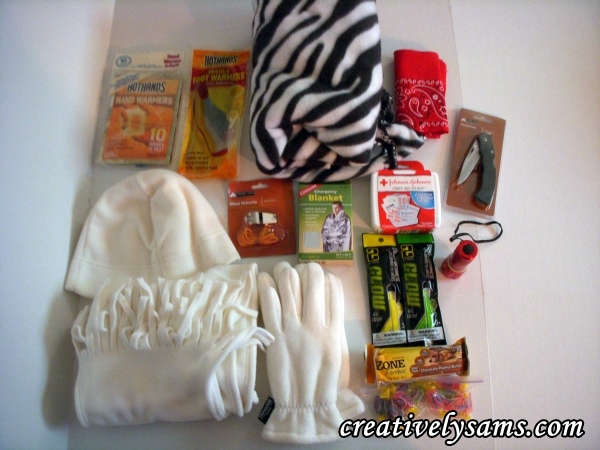
This is what I put into my kit:

Plastic Tote (to put everything in)

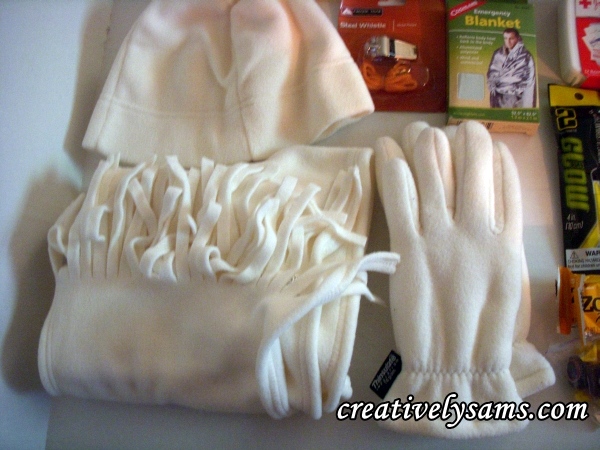
Hat, Gloves, Scarf

Fleece Blanket

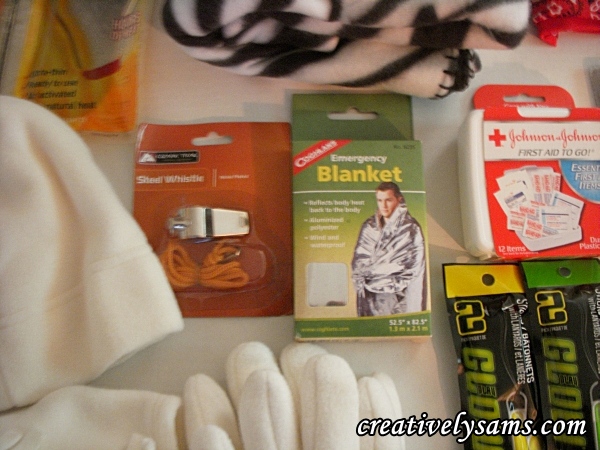
Mylar Emergency Blanket (keeps the warmth in & the cold out)

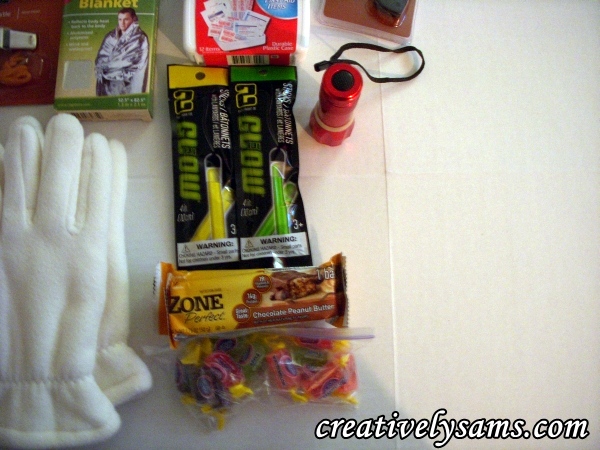
Flashlight, Glow Sticks (in case the batteries die out)

Whistle (to alert passerby’s if the car can’t be seen)

Hot Hands & Hot Hands Foot Warmers

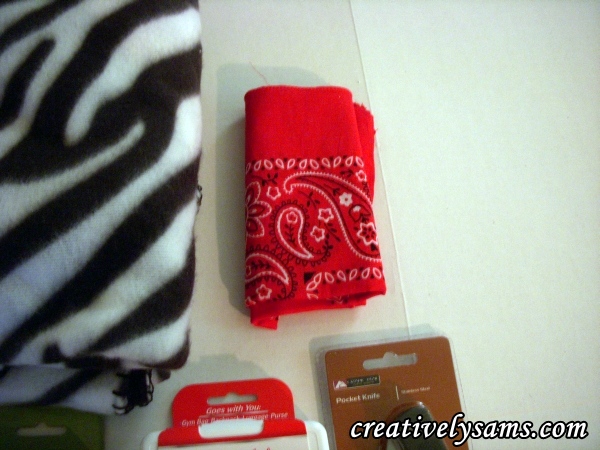
Red Bandana (to tie to outside of car)

Knife (God forbid that the seat belt gets stuck)

Hard Candy & Power Bars (to keep energy up)

(we always carry a bottle of water with us when we travel anywhere)

The supplies for the Winter Emergency Kit

Close up of extra scarf, hat & gloves

More of the supplies used for Emergency Kit

Blanket & Bandana for the Winter Emergency Kit

Hot Hands & foot warmers

Whistle, Blanket, First Aid Kit for Winter Emergency Kit

Completed & Organized Winter Emergency Kit

The one that I’m making for my son will be in a back pack. A tote isn’t as ‘manly’ as he would like.

I also have a small Emergency Kit for the trunk, which I will post tomorrow.

Snow is beautiful to look at & walk in, but winter can be very scary & deadly.  Stay safe out there & be prepared.

I’m joining:

We Heart Organizing


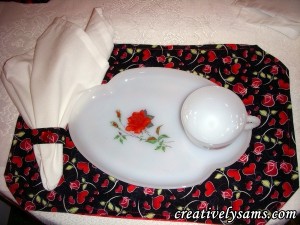
How to Make an Oval Placemat Pattern

When you’re creating a tablescape, it’s usual to have placemats to add color to your table.  I’ve found that I can never find what I’m looking for in the conventional stores.  I’ve been making my own placemats for years.  They are always unique & colorful. And once you know how to make your own, you can save a lot of money.

What you’ll need:
Brown Craft Paper:  (I always use this kind of paper because it is sturdier than other paper & is very inexpensive.  If you make a mistake, it doesn’t hurt so much to throw it out and start over. You’ll need a sturdier paper if you’re going to reuse the pattern many times.) I find this paper in the stationary section of Walmart or at the Dollar store.

Ruler

Scissors

Saucer or Plate

Pencil/Pen/Marker

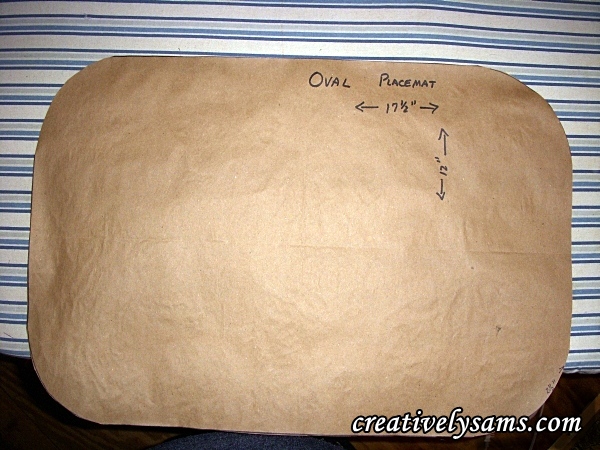
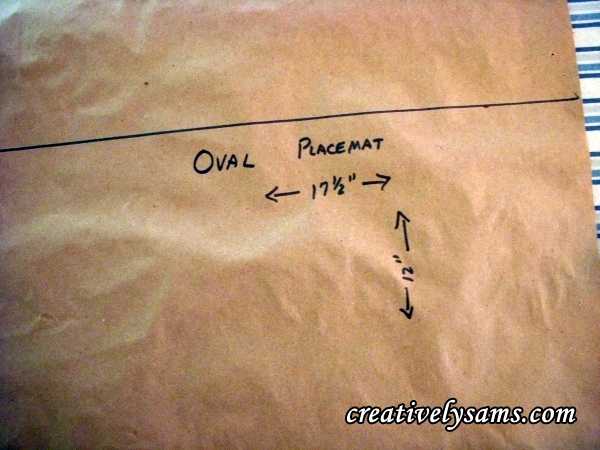
On the craft paper, measure 17 1/2″ wide by 12″ deep. This is the size that works for me.  Adjust it as you like it. This placemat pattern is  for your table.

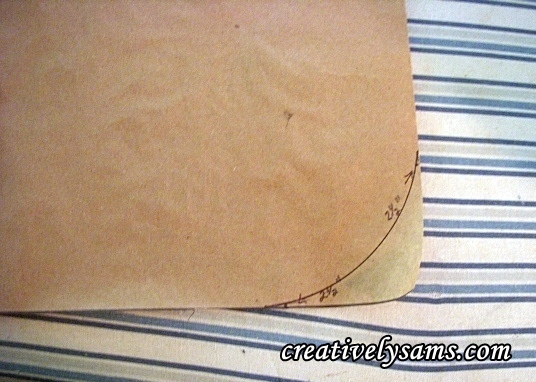
Cut out your pattern.  Measure up from each corner 2 1/2″ & mark. (You’ll have 2 marks at each corner).

Place your saucer or plate on the corner of your pattern.  Draw around the plate, joining the marks that you made at the corners.

Cut along the curved line that you’ve just made.  That’s all there is to making your own oval placemat.


Valentine’s Day Wreath

Making your own wreath for the holidays is easy.  With this wreath tutorial, I’ll show you just how easy it is.

What you’ll need:

Grapevine Wreath

1 1/2″ wide wire edge ribbon & 2 1/2″ wide wire edge ribbon.  (one spool each that are 9′ long)

Purchased bow or make your own

Valentine’s day sprays (I used 3) Purchased at http://www.michaels.com/

hot glue gun & glue sticks

Chop stick or wooden dowel (to hold items in place while the glue dries, it saves fingers from getting burned)

paddle wire to anchor the bow to the wreath

wire cutters

Scissors

floral tape

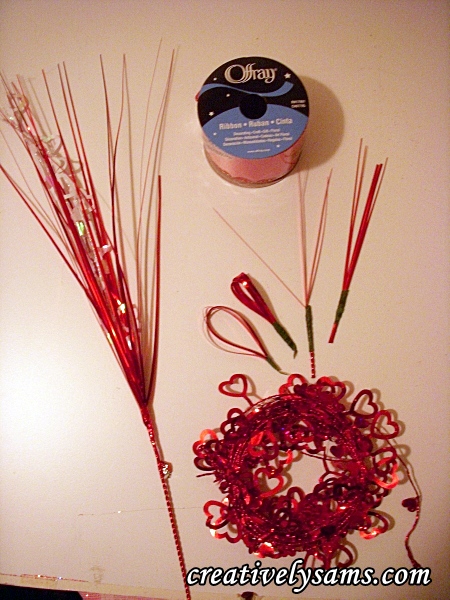
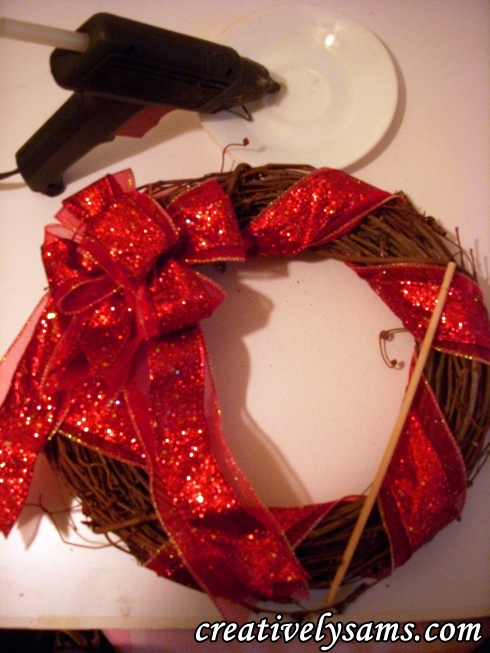
Take apart the sprays using wire cutters.  Gather the parts in odd numbers, small bunches of 3 or 5.  Cut the longer pieces in half.  (they are much too long for the wreath).  Use the floral tape to create little bouquets.  I made little bunches of loops with several of the spray pieces, and several were left straight.  Leave the white sections in singles.  I also cut the stems of the sprays into small sections & used them as stems for some of the small sprays that I made to give them strength & to save my fingers from being burned.

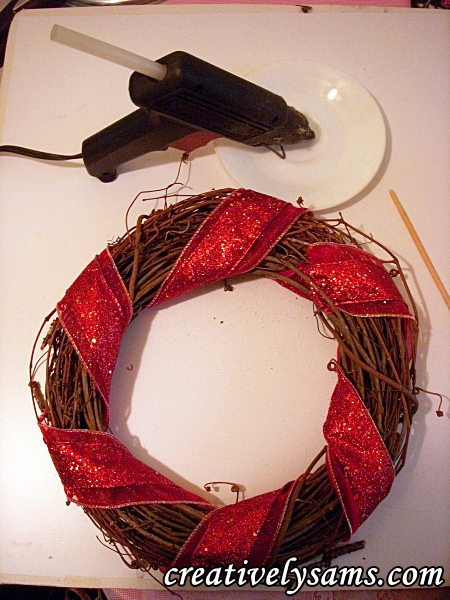
I used 2 different sized ribbons to wrap the wreath & make the bow.  I laid the smaller ribbon on top of the wider ribbon.  Wrap the wreath with both ribbons, gluing in place as you go. I like letting some of the grapevine “curly Qs” peek out of the ribbon.

Add a bow to the side of the wreath. I usually put the bow on the side of the door that opens, (not the hinge side)  It’s my personal preference. but that’s up to you.  It’s your wreath.

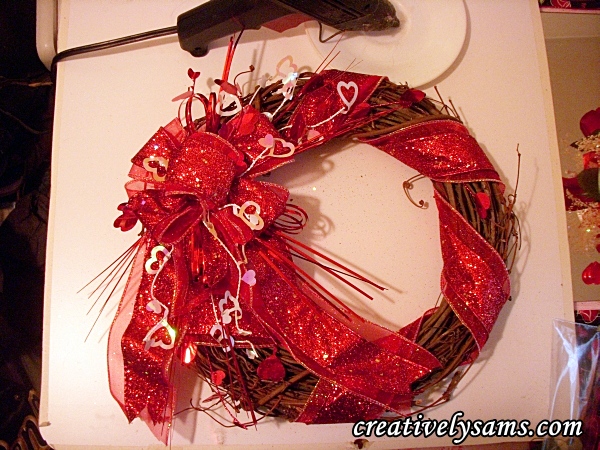
Now you can start gluing in the little bouquets that you’ve made.  Start with the longer pieces, putting some above the bow & some below it. Then use some of the smaller bouquets in between the loops of the bow.  Add the white parts to the bow, scattering them evenly.

And you’re done!

I tied some fishing line to the back of the wreath and hung it from a small nail that is at the top of my door since it was going in the center of glass.  By the way, did you notice that there are no flowers on this wreath?  The white sections of the sprays add just enough so that you don’t need flowers.

Easy diy Painted T-Shirt

I love to create, paint & wear my own T-Shirt designs.  They cost very little to make & are unique.  That’s the beauty of hand-painted wearable art.  They’re ‘one of a kinds’. They also make wonderful gifts.  I’ll show you how to paint a Valentine Heart T-Shirt the easy way.

Here’s what you’ll need:

A washed & dried t-shirt.  (do not add fabric softener)

Freezer Paper

Scissors

Red Fabric Paint (I used Tulip Soft in Berry Red Matte because that’s what I had)

Clear Glitter Fabric Paint (I used Scribbles Glittering Crystal Fabric Paint)

Fine Red Glitter

Paint Brush

Styrofoam Plate or Plastic Lid

Iron

Cardboard or Cutting Board covered with plastic wrap

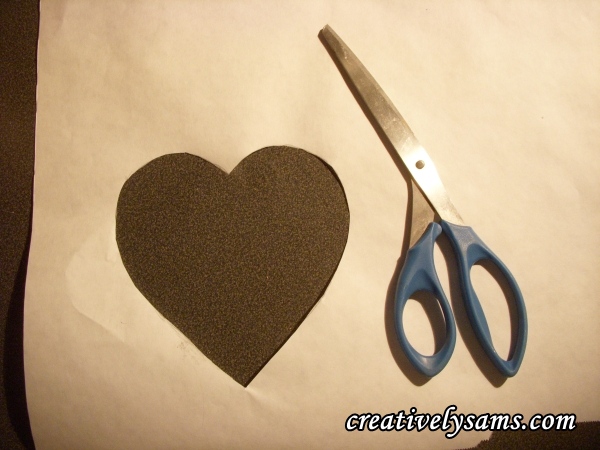
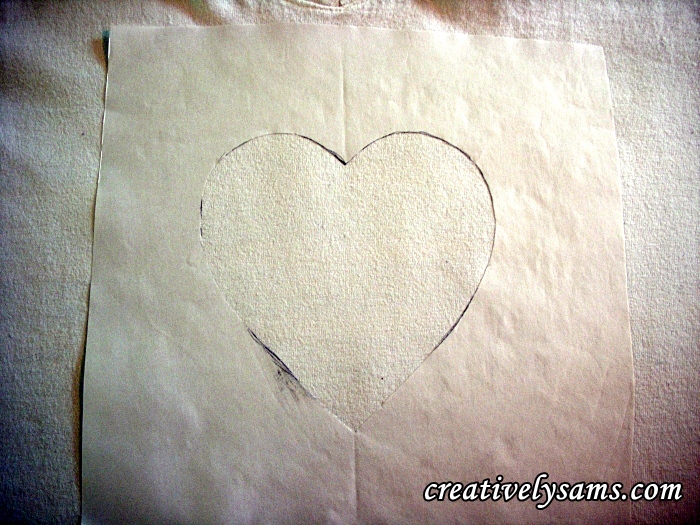
Making your Pattern is easy.  Fold a piece of paper in half & cut out a heart shape from the paper, just like you did in grade school.  When you get the size that you want to fit the size T-Shirt you’re going to use, trace the heart onto the freezer paper.

Then cut out your heart shape.  This will now be used as the stencil.

Place the shiny side of the stencil on the t-shirt where you want it. Play around with the placement. This is your creation.  Put it where you want it.

When you have the stencil where you want it, and the shiny side against the t-shirt, press it into place with a dry iron, making sure that the edges of the stencil are securely pressed to the fabric of the T-Shirt. Slide your cardboard or cutting board inside the t-shirt.  (you need the cardboard/cutting board in between the front & back of the shirt so that the paint won’t go through to the back of the shirt).

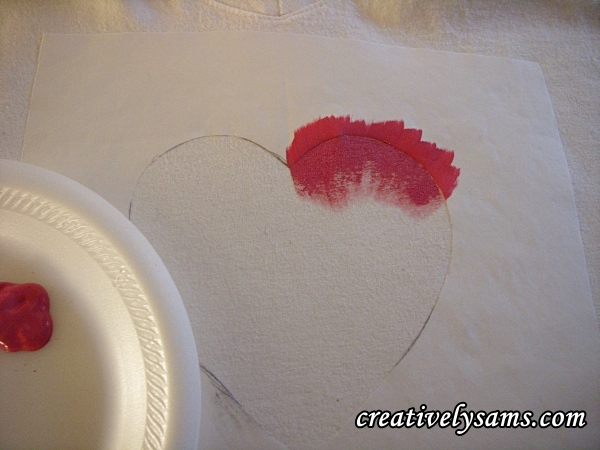
Pour some of the red paint on to the plate/lid.  With the paint brush, start from the outside of the stencil, (freezer paper) bringing the paint in towards the center.

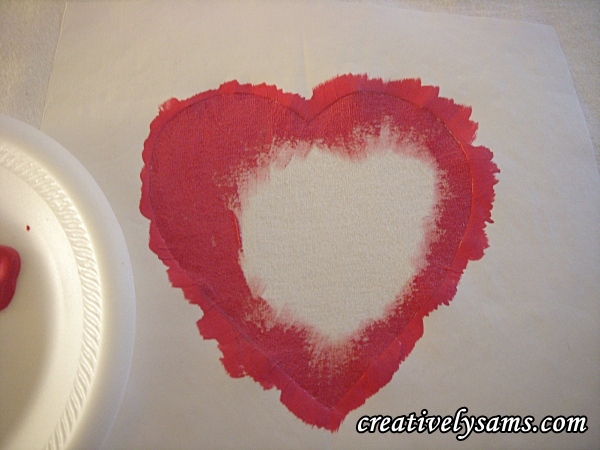
Continue around the entire edge.

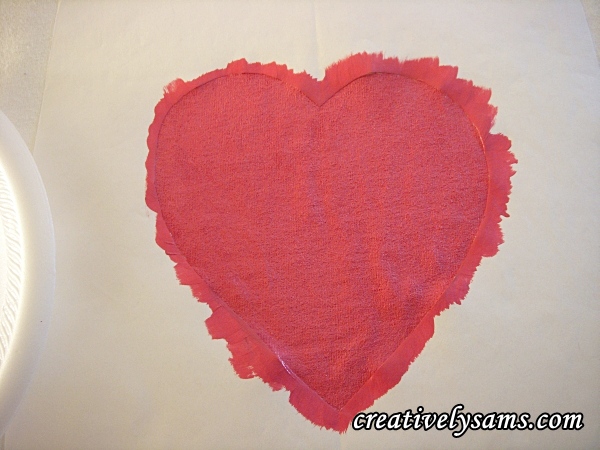
Fill in the rest of the stencil area.

Apply a second coat, touching up any areas that you might of missed.

When you’ve filled the heart in & there are no sparse areas, peel off the freezer paper.

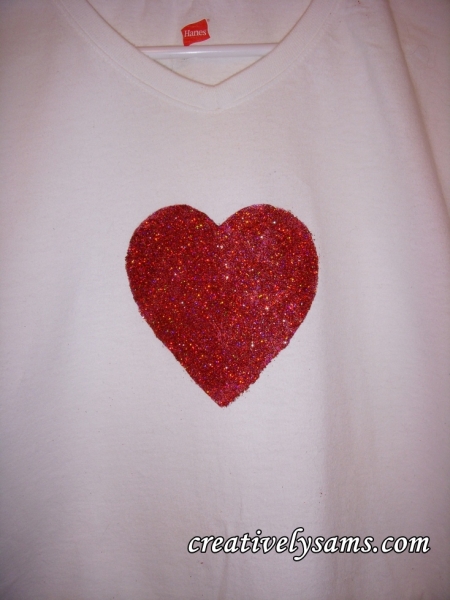
Let the paint dry.  You now have a painted t-shirt.

You can leave it this way, or add some glitter.  (and anyone who knows me, knows that I can never have enough glitter.)  So, let’s glitter it up! Continue reading

Valentine’s Day Napkin Rings Alternative

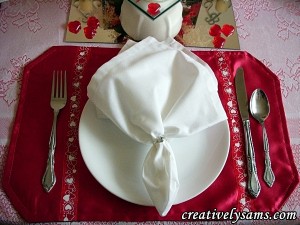
Not enough time to make your own napkin rings?  No problem. Even if you have no time at all to cut, measure or sew, you can still use napkin rings to finish off your Tablescapes.

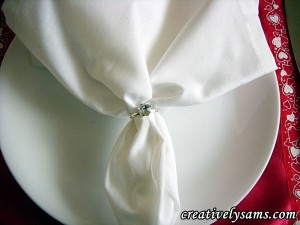
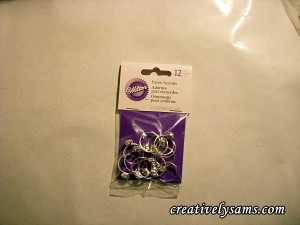
I found these Wilton ‘engagement ring’ Party Favors at Michael’s in the wedding section. (It seemed fitting, since that’s the day that my husband proposed to me.)

Just slip them onto the napkins to add a little bling!

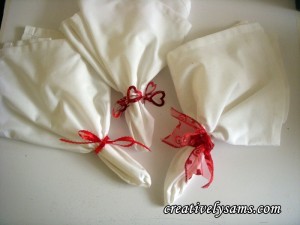
Still no time to go out and purchase the Wilton Party Favors?  No problem. Tie some ribbon around your napkins.  Or wrap your napkins with some holiday garland.  It’s not hard to create a pretty tablescape. Just use your imagination!

Now, that was easy!

Valentine’s Day Cat Toy

I’m crazy about my little princesses.  So I couldn’t have a holiday go by with out making something for them.

What you’ll need:

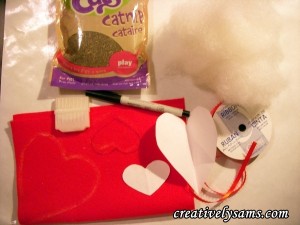
1 red felt square

Polyester fiberfill

Marking pen or tailor’s chalk

scissors

sewing machine & thread

1/8″ red ribbon

Catnip

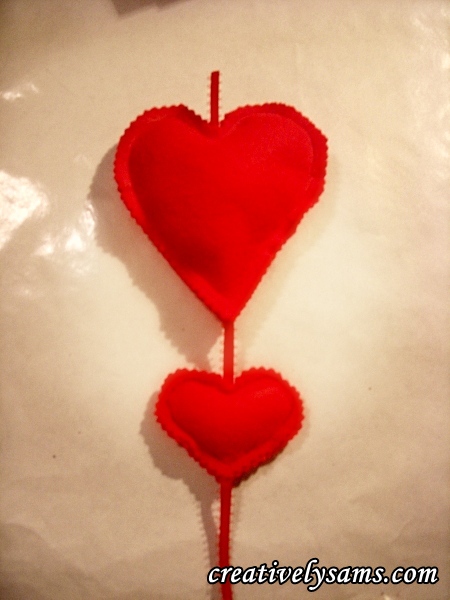
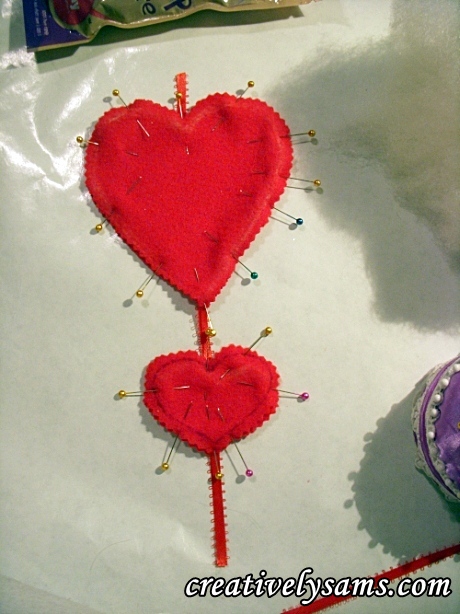
To make the pattern, I just used a folded sheet of paper and cut out 2 different sized heart shapes. One larger than the other.

Fold the felt square in half.  Trace the pattern pieces onto the felt. Use a tailor’s chalk if you don’t want the marks to show.  Use a permanent marker if you don’t care if the marks show.

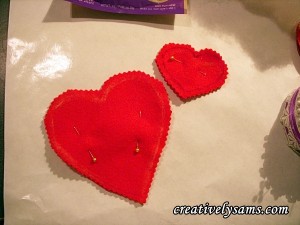
Cut out the 2 heart shapes. (folding the felt in half will give you 2 pieces of each size)

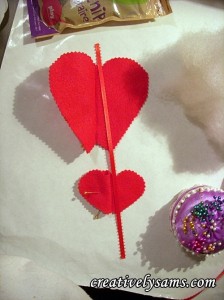
Open the heart shapes & lay your ribbon down the center of both pieces.  This will join the two pieces into one single toy.  I left a tail of ribbon at the top & bottom to give them something more to play with.

Pin the heart shapes closed, leaving a small opening on the side so you can fill them.

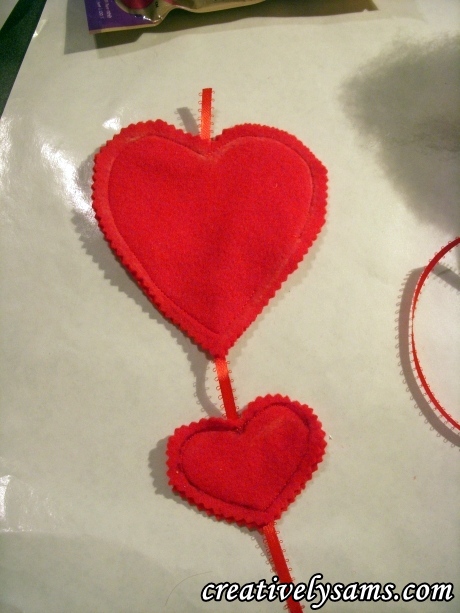
Stitch around the hearts, back-stitching where the ribbons are, to secure them in place, so kitty won’t pull them out.

Stuff each of the hearts with some fiberfill & a teaspoon of catnip.  When you’ve stuffed them as much as you like, pin the opening closed.

Sew the opening closed, back stitching to secure the stitching.

Give the new toy to your kitty & watch the fun begin!

I think they like it.

Happy Valentine’s Day!


Quick Centerpiece Alternatives

If you made the Valentine’s Day Candle, but you just don’t have the time to make the centerpiece, I have a couple of easy alternatives for you.

How about some garland?  Just wrap the bottom of the candle with some Valentine’s Day garland.  Adds some bling, and balances out the candle with some weight to the bottom.

Or how about a boa?  Wrap the base of the candle with a red boa.

Not enough ‘bling’?  Add some glitter heart shaped stickers to the boa.

Have fun with it!  Valentine’s Day is not only a romantic holiday, but it’s a fun & sweet holiday.  Make it your own. You’re only limited by your imagination!

Valentine’s Day Candle

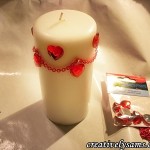
What do you do with a plain white pillar candle?  Decorate it, of course!  I found some 3″ x 6′ pillar candles on sale, and naturally, I couldn’t resist them.  But they are plain.  I wanted something for Valentine’s Day.

What you’ll need:

1- 3″ x 6″ pillar candle

measuring tape

Chain (Walmart jewelry making section)

Red heart shaped rhinestones (Michaels)

Straight pins

Double faced tape Continue reading