Yellow Tablescape

Lately I’ve been obsessed with the color Lemon Yellow.  It all started with my Easter gift from my husband.  He gave me a small rosebush that was wrapped in yellow paper. (he knows me so well)

                                    Easter Roses

And the Forsythia bushes that my sister had given me years ago, are in bloom right now.

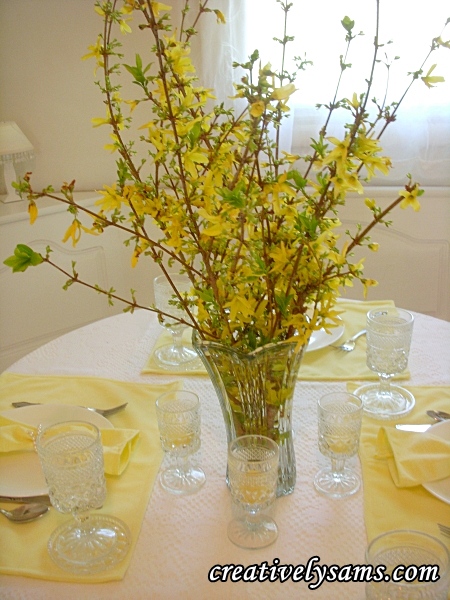
                                   Forsythia Centerpiece for yellow tablescape

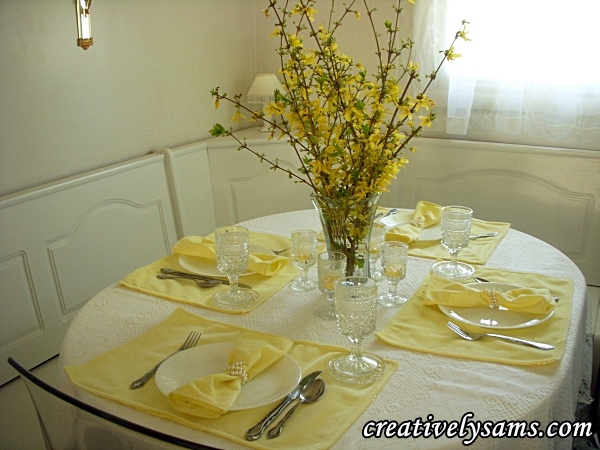
Yes, I’m seeing yellow every where.  So naturally, I had to create a yellow tablescape.  It turned out so nicely.  (even got a compliment from my son!)

I started with a solid white tablecloth as an underlay & then covered it with a white lace tablecloth.  Then I added yellow reversible placemats (tutorial coming soon)  & yellow linen napkins. The Forsythia was placed in a large glass vase.

Yellow Tablescape with Forsythia

Continue reading

My Little Night Light

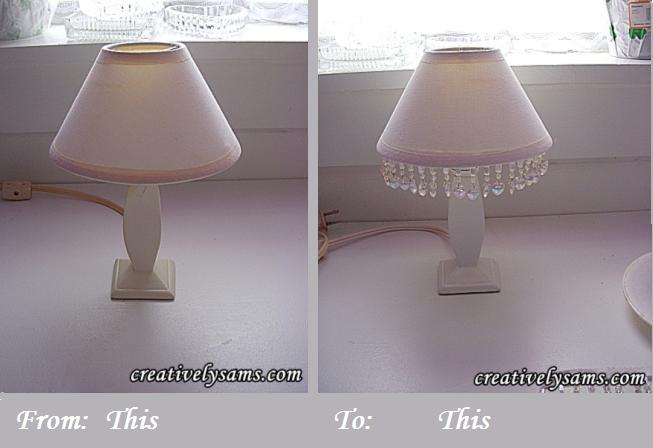
I’ve had this little night light/lamp for more years than I care to admit to.  I love this little lamp.  It’s perfect for the corner of the dining area & sheds enough light at night to guide our steps for that late night glass of water or fridge raid.  But it’s seen better days.  The base & shade have aged to the point where it doesn’t look so good anymore.  I really love this little light, and I guess I could have replaced it, but I know I’ll never find another one, so I had to save it.  It needed an overhaul.

Night Light before & after

And this is how I did it: Continue reading

Easter Bonnet Door Hanging

I’m still decorating for Easter.  I certainly couldn’t have a St. Patrick’s Day Wreath on the door for Easter.  Because the theme for this year is purple & eggs, I wanted to put both of those into the door hanging.  Instead of the traditional wreath, I chose an Easter Bonnet this year.  This was one of the easiest door hangings that I’ve done in a very long time.  I hope you enjoy it & will try one for yourself.

Continue reading

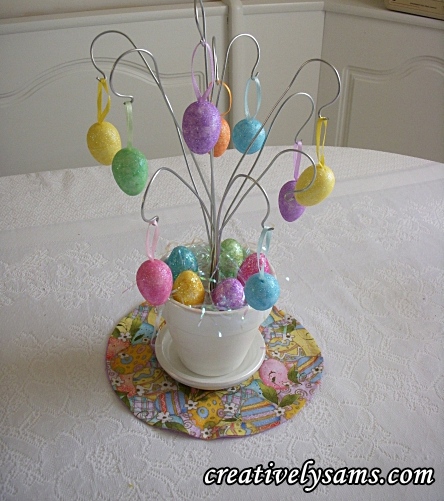
DIY Easter Egg – Ornament Tree

Since the theme for my Easter decor was going to be Easter Eggs, (because of the fabric that I chose)  I started to shop around for an Easter Egg Tree or an Ornament Stand.  I couldn’t believe the prices!  Not one of them were under $28.00!  And I didn’t like any of the designs.  My brain went into high gear to come up with an inexpensive tree that would go with my holiday decorations this year. This is what I came up with:

It’s a little time consuming, but can be customized to meet your needs & home colors.

Continue reading

Cat Bed fit for a Princess

My little princess (her name is Two) likes to hang around me, where ever I am.  She’s behind me on the chair when I’m at the computer, she cuddles with me when I’m on the couch, & she’s usually at my feet when I’m in the craft room.  The craft room has vinyl flooring, so it can be a little cold. We put vinyl flooring in so that I wouldn’t have to worry about pins or beads getting lost.  But it can be a little cold and it’s not as soft as the chair or couch.  So I needed something for my little Two to curl up on.Cat Bed

Continue reading

DIY Padded Hanger

I’ve learned that if you want your nylon stockings, panty-hose, knee-highs, bras & panties to last, do not put them in the dryer.  The heat from a dryer will break down the fabric and shorten the life of the garment.  I used to just hang them on plastic hangers to dry, (Metal hangers left a ridge in the items) but they kept catching on parts of the hangers.  I was saving the stockings just to snag them while they were drying.  That’s when I came up with this idea and it’s been working for me for years.

Continue reading

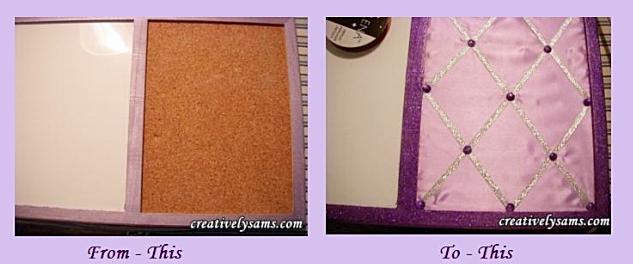
DIY Memo Boards

As I’ve said before, I’m a very visual person.  And I’m always getting ideas for new projects.  I have a huge stack of index cards, full of ideas.  But they’re filed away in a file box.  I’ve found that when I have an idea that I want to get started on right away, putting the index card on a memo board keeps me on track.  When the idea is filed away in it’s ‘proper place’, I can forget about it. Because of that, I’ve made 2 memo boards.  One by the sewing machine, (this one has a side that is metal to use magnets & the right hand side is cork)  and one by the crafting area of my room (all cork).  Besides that, plain brown cork just doesn’t go in my sewing room. 

And I’m not a fan of brown.  Purple or lilac is what it had to be to go in my sewing room. (Remember, this is for my room.  You can chose any color that goes in your home)

This is how I made them. Continue reading

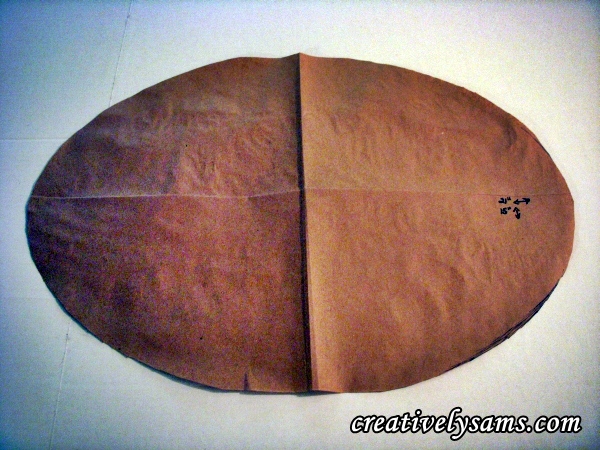
How to Make an Elongated Oval Placemat Pattern

DIY Place Mat Pattern

I really like dressing the table, whether it’s for a holiday or for every day.  For some reason, it always seems to make the room look more pulled together.  I love what a clean table cloth & place mats can do for the room.  But I can never find what I want. The colors are either off or the place mats looked ‘store bought’.  A trip to a fabric store can spark your imagination & you can usually find exactly what goes with your decor.  That’s how I started making my own place mats.  But I get bored very easily.  I like to change things up.  Making my own place mat patterns gives me a broader outlet to make my home, ‘my own’.  You can make unique items for your home too!

Here’s what you’ll need:

brown craft paper (a quick tip:  I use a pony tail elastic to hold the roll instead of a rubber band.  It seems to last longer & doesn’t mark the paper) 
ruler

plate

marker

scissors

I got out the brown craft paper & put a dinner plate on it to judge the amount of paper I’d need.

Use a plate to judge the amount of paper needed

For mine, I needed about 15″.  I measured 15″ across the bottom of the roll of paper, making marks to make sure it would be straight.  After I marked the paper, I cut the paper across at the marks.
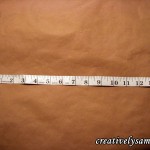
               

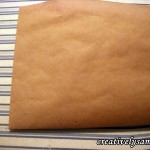
Then I folded the paper into quarters, to mark the center of the paper. Open the paper up. The center point where the folds cross.
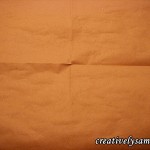
                       

Next you’ll have to judge the width that you’ll need for the place mat. I put the dinner plate on the center fold & added the knife & spoon to the paper.  I needed about 10 1/2″ from the center.  So my pattern had to be 21″ wide by 15″ high.
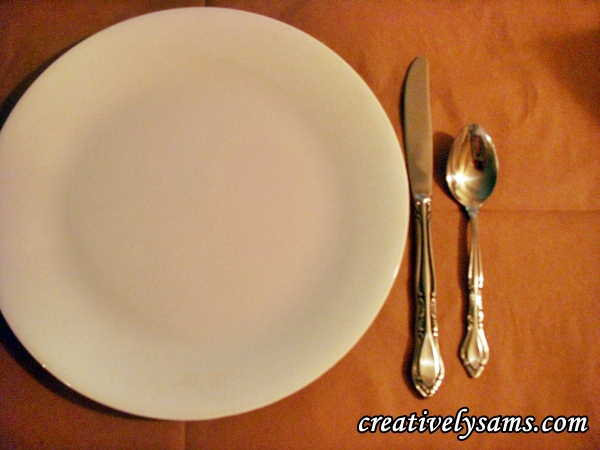
Cut off excess paper after you’ve found your ideal size.  Push the plate to the far right side of the paper.  Draw around the outside of the plate at the fold.
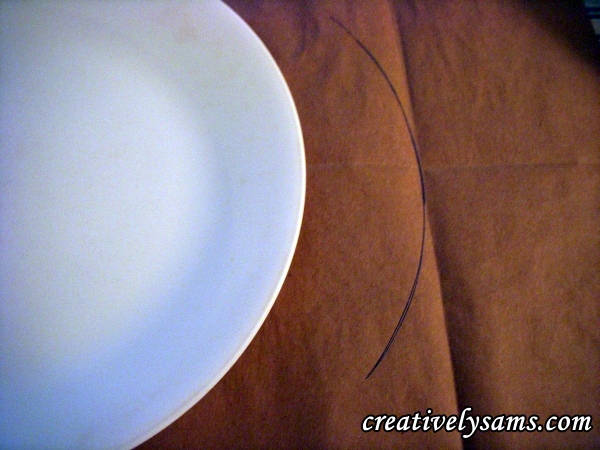
Sketch in a curve from the line you’ve just made to the center bottom of the paper.  You’ll do this free-hand.  As you can see, it took me several times to find a curve that I liked.

Fold the paper in half, from top to bottom, with the line that you just made on top.  Cut out the curve along the line.  (first half made)
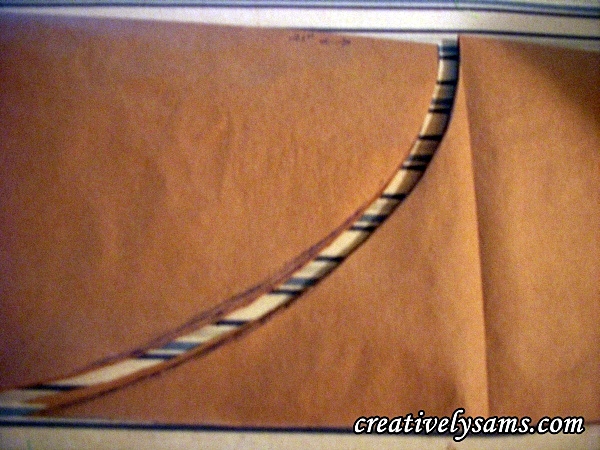
Open the paper back up.  The curve is made for the right side of the pattern.
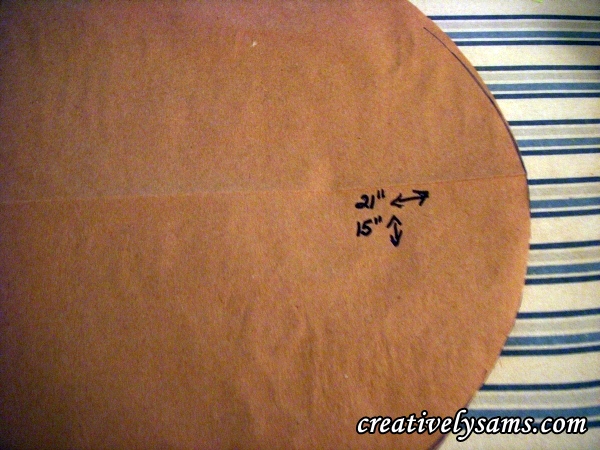
Fold the paper in half, side to side.  Draw around the curve to mark the cutting line for the left side of the pattern.
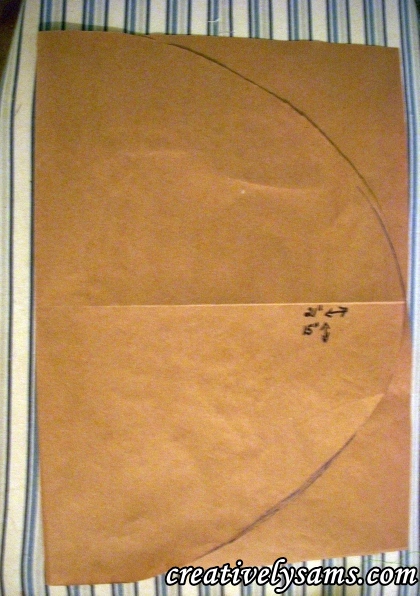
Cut along the line you’ve just made.  And you’re done!  You now have an elongated oval place mat pattern. This pattern gives a completely different look to your table, and I think you’ll like it.


Sewing/Craft Room Desk Organization

I’ve had this desk for years.  It used to be my daughter’s when she was little.  It’s the perfect size for my sewing machine and all the things that I need while sewing.  (Including my purple TV)  Now that the Sewing/Craft room is almost complete, I’ve been spending lots of time organizing everything.  The desk was no exception.

Continue reading