Decorating for the holidays is always so much fun for me. It’s an easy way to redecorate without spending a small fortune. I still can’t get over how a change in a tablecloth, place mats, & a centerpiece can make the dining area look completely different. The 4th of July is a fun tablescape to do because it’s filled with bright colors & sparkle! This year, I really wanted to emphasize the color red.
Category Archives: Tablescape
Lighthouse Tablescape
I love doing tablescapes. When I create a tablescape for my home, it not only makes the table and dining area look nice, but it makes dining an enjoyable experience. (even if it’s only hot dogs and french fries)
Since it’s almost the beginning of Summer, and vacation season is right around the corner, I’m longing for the beach. But it doesn’t look like we’re going to make it this year. So, to satisfy my longing for the beach, I’ve been creating a lot of things with sand, shells & lighthouses.
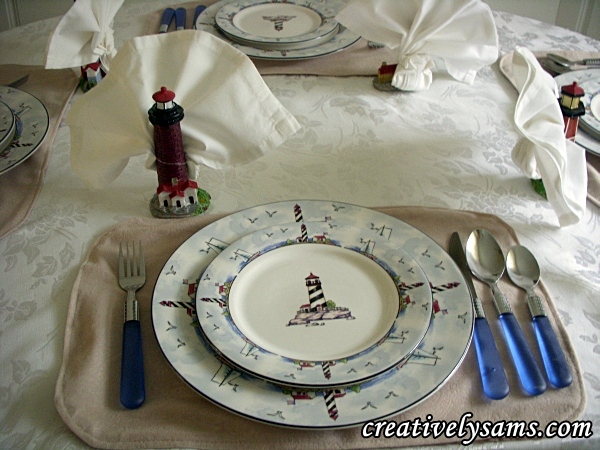
Welcome to my Lighthouse Tablescape.
Lighthouse Napkin Holders
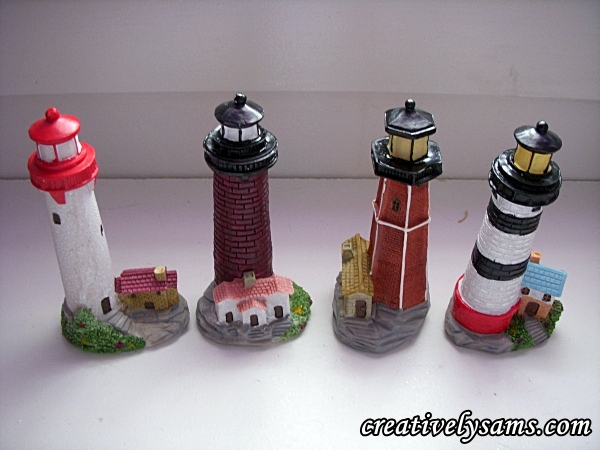
I found these little lighthouses at the Dollar Tree.
They are adorable, but they don’t exactly match my plates.
And you know my motto by now. If it isn’t exactly what you want, change it to make it yours! Continue reading
Yellow Tablescape
Lately I’ve been obsessed with the color Lemon Yellow. It all started with my Easter gift from my husband. He gave me a small rosebush that was wrapped in yellow paper. (he knows me so well)
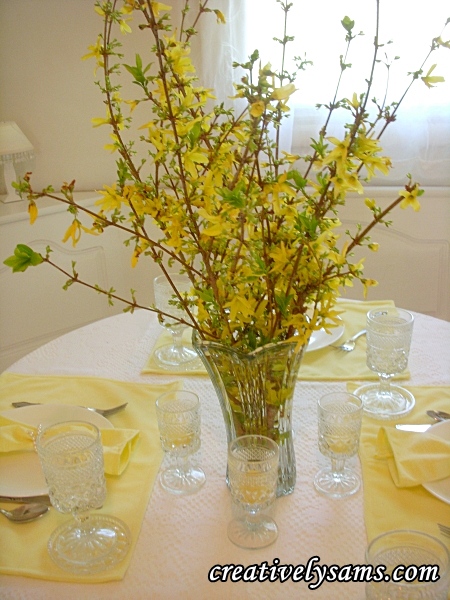
And the Forsythia bushes that my sister had given me years ago, are in bloom right now.
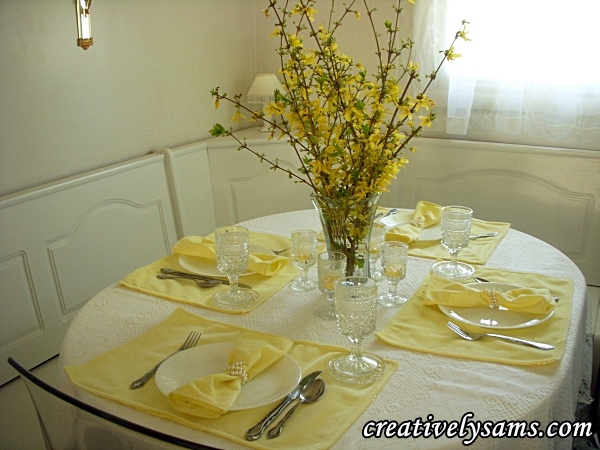
Yes, I’m seeing yellow every where. So naturally, I had to create a yellow tablescape. It turned out so nicely. (even got a compliment from my son!)
I started with a solid white tablecloth as an underlay & then covered it with a white lace tablecloth. Then I added yellow reversible placemats (tutorial coming soon) & yellow linen napkins. The Forsythia was placed in a large glass vase.
No Sew Place Mat
I’ve recently gotten a request from someone who doesn’t have a sewing machine, but wants to create her own unique tablescapes. So I thought I’d share a quick way to make placemats without having to sew a stitch.
Here’s what you’ll need: Continue reading
Silver & White Tablescape
When you’re a crafter or an artist, you don’t look at things the same way that other people do. You always look at an item & say, “What can I do with this?” When I was shopping at Walmart, I found this silver dance-wear fabric. It really is a bright metallic silver. (It just looks a little ‘purple’ because of the sun shining in my craft room window.) As soon as I saw it, I just knew I had to have it. I bought a couple of yards of it.
The girl that rang up my purchase looked at me a little strangely. I told her what I had in mind & she said, “I thought maybe you were going to make a silver disco outfit”. (she knows that I make a lot of my own clothing)
What I had in mind was a table cloth. Seriously. A table cloth. Continue reading
Purple Easter Tablescape
Purple is the color to help spread epilepsy awareness, so I’m posting this today in honor of it.
What a difference a placemat makes. I turned over the Easter Tablescape Place Mat to the solid side to make this tablescape. I love the color purple, but living in a household full of men, I don’t usually use the color around our home. (it’s not really a ‘manly’ color) But for Easter, I couldn’t resist. I hope you enjoy our Easter Table Scape.
Easter Tablescape
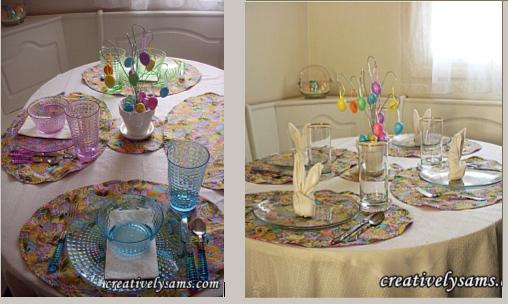
It’s almost Easter! Time for a new tablescape! I love doing these. They brighten up the dining area & with a plate change, the whole table looks different. Using the Easter place mats that I made, I created 2 looks using the patterned side. I thought I’d share them with you.
St. Patrick’s Day Candle
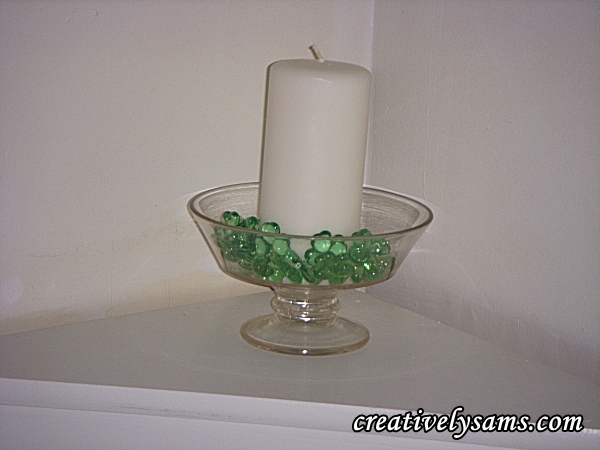
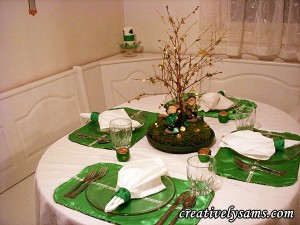
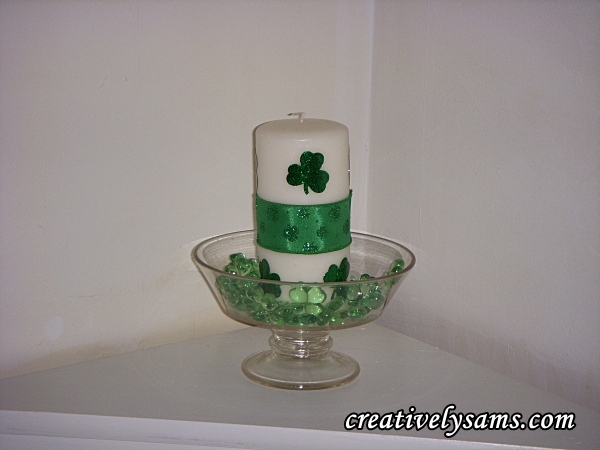
In the St. Patrick’s Day Tablescape you may have noticed a small candle in the background.
I used my Grandmother’s ‘depression’ bowl with a plain white pillar candle & some shamrock ‘scatter’. It brought a pop of color into an empty corner. And it worked for the tablescape with the patterned placemats. It was simple enough that it didn’t compete with the busyness of the placemats.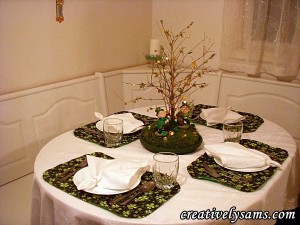
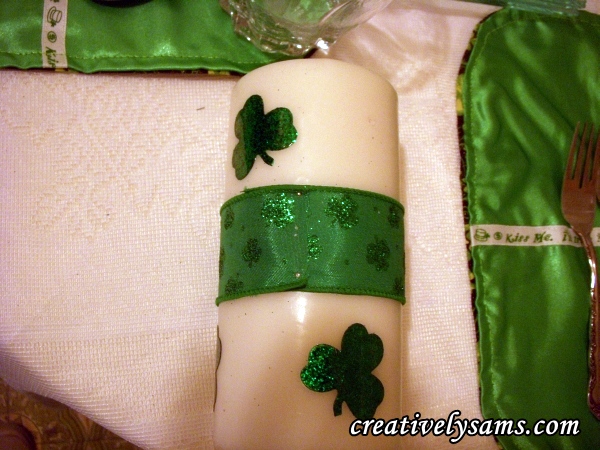
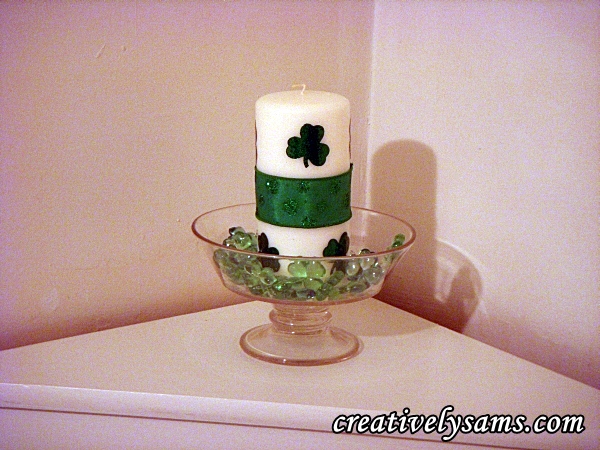
But, I just can’t leave well enough alone. It just disappeared when I used the plain/solid sided placemats. Plain white just wouldn’t do for me. I had to add ‘more’. I used some wire edged shamrock ribbon and some glitter stickers to add color.
I measured the ribbon around the candle. Added about an inch to it. I cut the ribbon and folded the end under, over lapping the raw edge. Using two straight pins, I anchored the ribbon to the candle. But that still wasn’t enough. So I added some glitter shamrock stickers above and below the ribbon. That was all it needed. Now it really adds a pop of color to the plain, boring corner of the room.
It’s now strong enough that it doesn’t disappear anymore.
I love an easy project! This could be used for any decor, as an accent piece or a centerpiece. You can use this idea anytime. Whether it’s for everyday or a holiday. Just change up the ribbon to go with what ever you’re decorating for! You can have so much fun with this one! Continue reading
St. Patrick’s Day Reversible Placemats
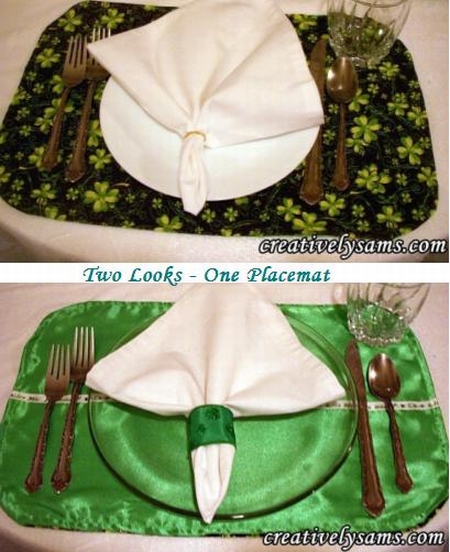
I don’t know of a better way to add color to a tablescape than by using placemats. I usually make my own because I can customize them to my tastes and they are almost always less expensive than store bought. Another reason that I like making reversible placemats is because it takes less room to store them. (store 4 instead of 8) It’s hard enough to organize your home as it is, especially when you don’t have that much room to begin with.
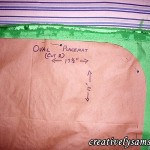
For this one I used the Oval Placemat Pattern from a previous post.
What you’ll need:
1 yard of patterned fabric
1 yard of solid fabric (I used costume satin. It’s easily washed & has intense color)
Matching thread
Sewing machine
Straight pins
Ribbon (optional) (I used 1 roll of 9′ long)
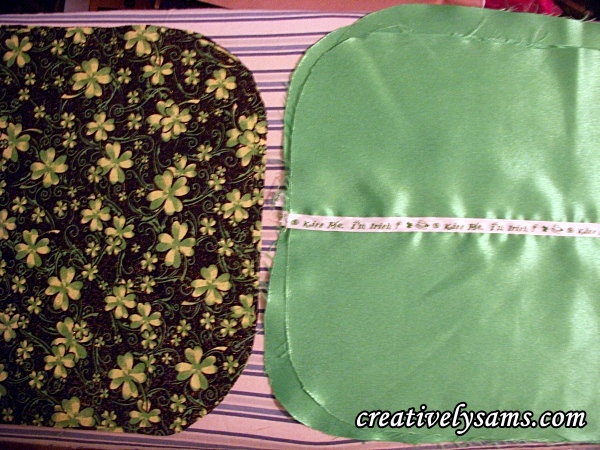
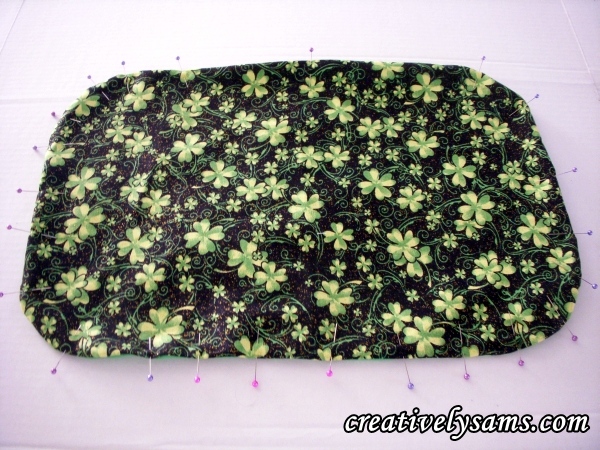
Pin the pattern to your fabric & cut 4 of the placemats from the patterned fabric & 4 from the solid fabric.
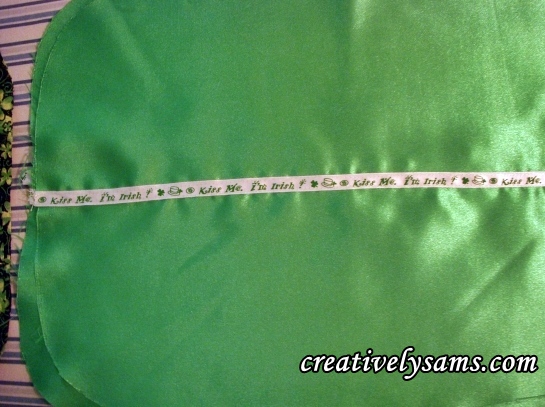
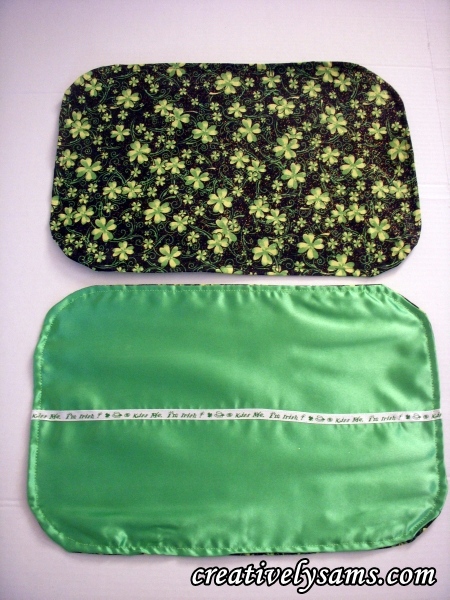
To mark the placement for the ribbon, I folded the pattern piece in half. Then I laid the pattern on the cut placemat piece & used the bottom of the fold as a guide. (I chose this because the ribbon was printed with words. I wanted to be able to read it through the plates) Pin the ribbon in place.
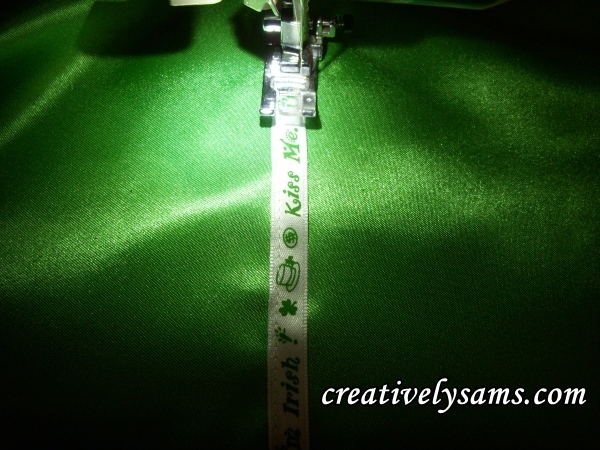
Sew the ribbon to the solid placemat fabric, stitching close to the edges.
Sew the ribbon to all of the solid placemat pieces.
Place 1 solid placemat piece on top of 1 patterned piece, right sides together. Pin in place, leaving an opening for turning. Repeat for all 4.
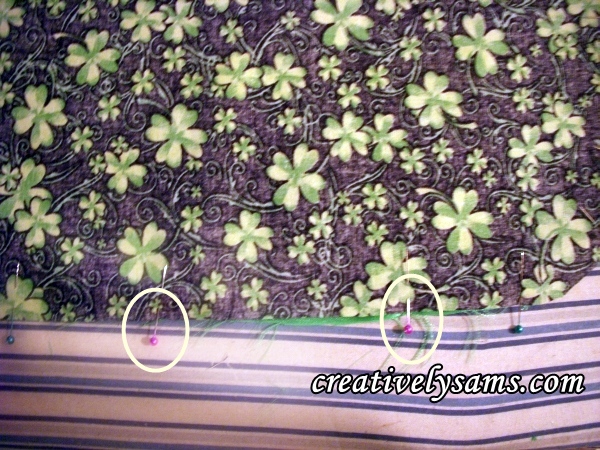
A little trick that I learned a long time ago, is to use 2 pins to mark the place where I want to begin sewing & where to end sewing. You need to leave a space opened to be able to fit your hand inside to turn the placemats to the right side. There’s nothing more frustrating than to sew an item, only to realize that you’ve forgotten to leave an open space to turn it. It’s such a waste of time to have to rip out stitches.
Sew all the way around the placemats, starting at one ‘different colored pin’ & finishing at the other pin. (to leave the opening) I usually sew about 1/4″ from the edge. Turn the placemat, right side out. Pin the opening closed. Top stitch around the placemat, using matching color thread. Top stitching the placemat closes the opening & keeps the edges of the placemat crisp. Press lightly.
Use the fabrics that speak to you. These are for your home. Customizing your placemats is easy. Make them your own & have fun with this.


