Rope Centerpiece

I don’t know if being a crafter is frugal or not, but if I can reuse an item & make it into something else that’s not only useful but pretty, I’m going to do it.

I eat way too many nuts.  I love Great Value Deluxe Mixed Nuts, mainly because there are no peanuts in it & it’s salted just the way I like them.  So, needless to say, I always have empty cans left over.  What did I do with them this time?  I made a centerpiece!

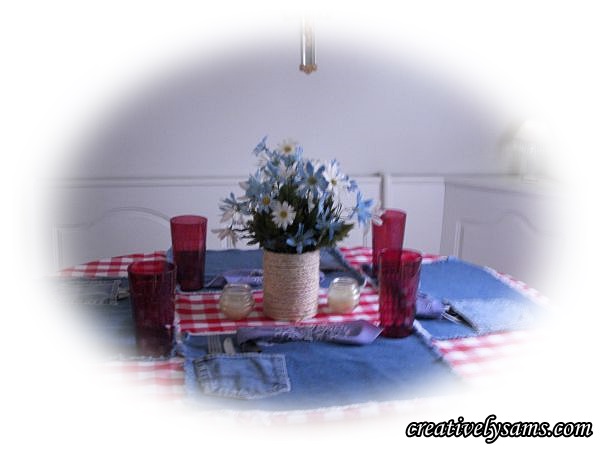
Rope Centerpiece

And this is how I made it:

Continue reading

Table Garland Centerpiece – Tutorial

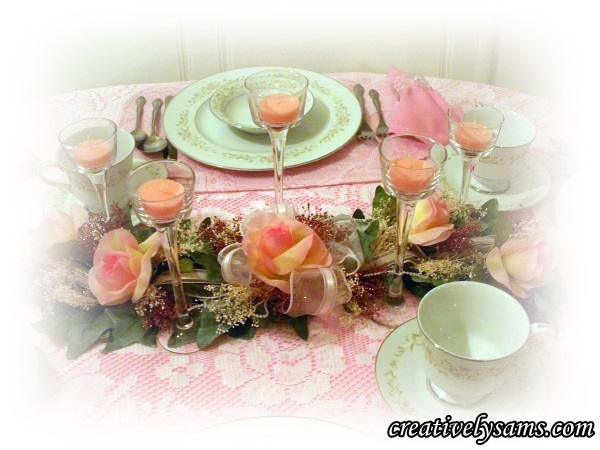
Ever wonder how they make those table garlands that you see on tables at restaurants or at weddings?  I’m going to show you just how easy they are to make.  And I’m going to show you how to make it very inexpensively!   This Table Garland Centerpiece is not only very romantic, but just a little bit Shabby Chic.  But, by changing the flowers & candle color, you can make it fit into any decor.

Shabby Chic Centerpiece

Continue reading

Father’s Day Photo Centerpiece-tutorial

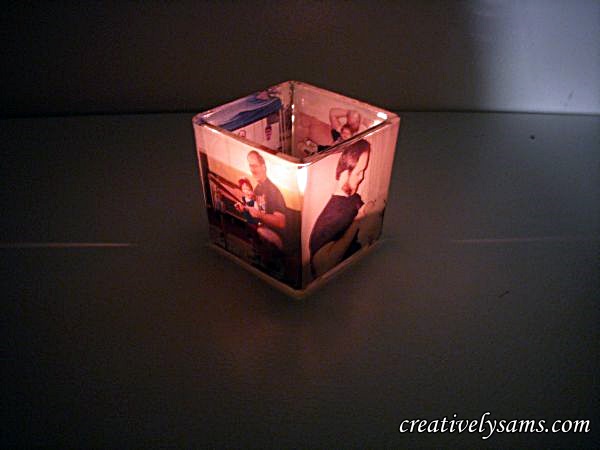
Father’s Day is just around the corner.  I’ll be doing one of my usual tablescapes.  But I needed a centerpiece for it.  I could have put flowers on the table, but I thought that was too girly for a man.  I could have used a cake as a centerpiece, but that idea bored me.  I needed something special for a man who is not only the glue that holds this family together, but a wonderful father. It had to be unique.  Then the light bulb went off in my head.  And by now, you know that when I get an idea in my head, I’ll find a way to make it work. This is the idea that I came up with:

candle lit.

And this is how I did it:

Continue reading

Golden Sea Shell Centerpiece

Living Well Spending Less is having a gold challenge.  It’s called the “The {ditto} DIY Challenge

I thought I’d give it a try.  The challenge?  Turn something gold and show it being used in your house.

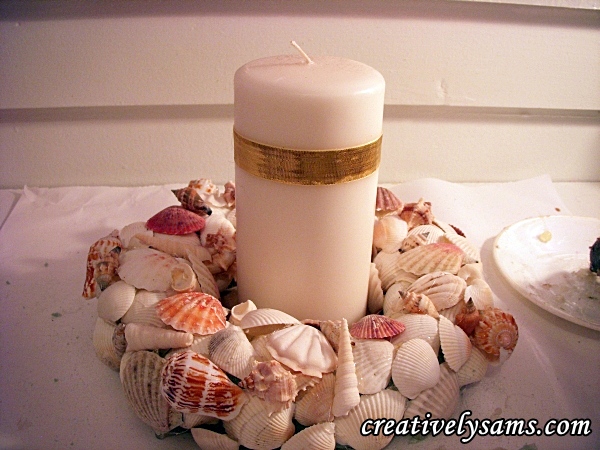
I thought I’d use the Sea Shell Centerpiece that I made in a previous post.Shell Wreath 1

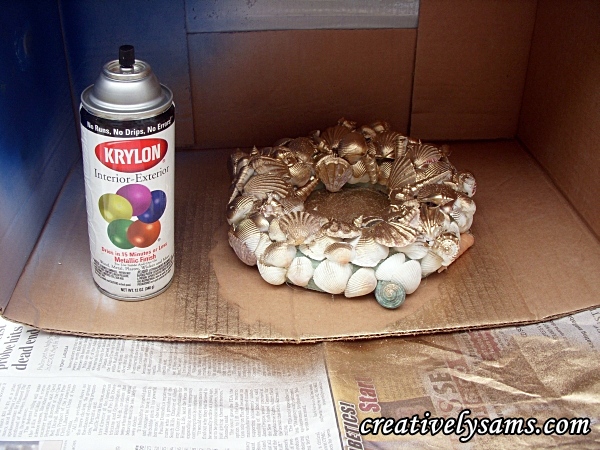
I started by getting out one of my favorite paints, Krylon Gold Metallic spray paint.  I took the centerpiece outside & started to paint.  There were so many nooks & crannies that I thought I’d never get it completely covered.

sea shell gold.Krylon paint

I kept turning the centerpiece in all directions.

shells gold

After about 1 1/2 hours (this includes drying time)  I finally got it completely covered.

(by the way, you can spray paint floral foam.  It doesn’t melt like Styrofoam does)

I added a white pillar candle that I had glued a gold ribbon to.  I thought that solid gold was a little too much, so I added some white pearls to it.  I used a clear tacky glue to adhere them to the shells.

Gold shell centerpiece

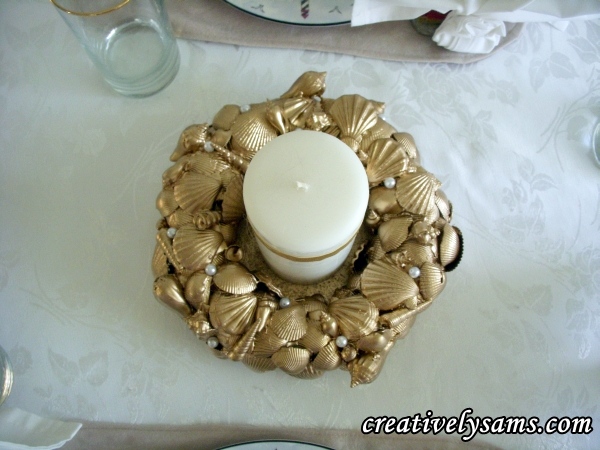
Here’s a top view of the centerpiece:

Gold shell centerpiece view from the top

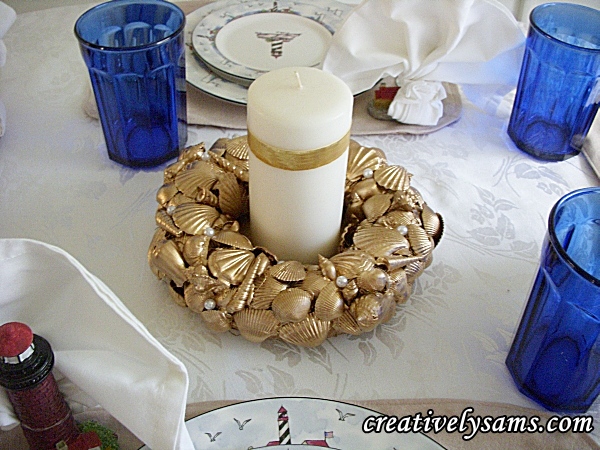
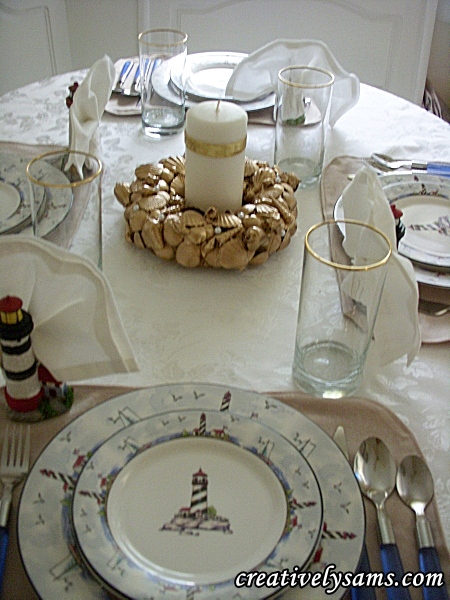
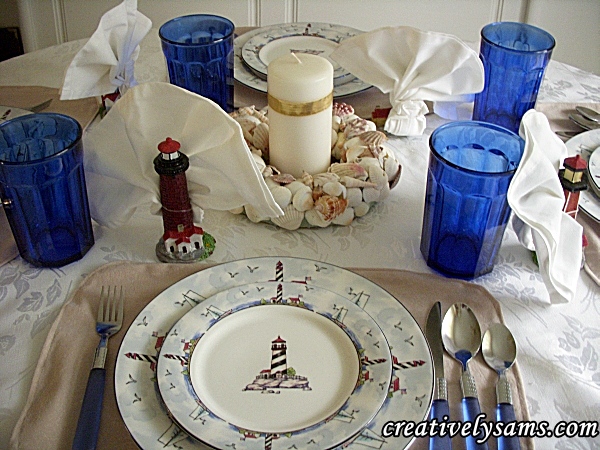
And here’s the centerpiece in place in a tablescape.

Lighthouse tablescape with gold shell centerpiece

I really like the way it turned out!

I hope you check out the challenge site & see what other bloggers have done with their gold.

Happy creating everyone!


Sea Shell Centerpiece – tutorial

Since I have so many shells that I was collecting for my Playing in the Sand post, I thought I’d use them for yet another project. This time I decided to try a Sea Shell Wreath shape for my centerpiece.  I like the way it turned out.

Shell Centerpiece in place

Here’s what I used: Continue reading

Playing in the Sand – tutorial

I started to do this with sand box sand years ago.  (it’s a clean sand)  Once you make this, it can be applied to several items for your home decor.  Summer brings thoughts to days at the beach.  And this is a process that will bring the beach into your home  easily.  When it’s dried, it looks like wet sand.

So, save those shells from your vacations, or have your friends bring some back for you!

Sand & Shells Centerpiece

I’ve made everything from centerpieces to picture frames & candle holders using this formula.  I hope you’ll give it a try.

What you’ll need: Continue reading

Scatter Candle – tutorial

I recently went to the Dollar Tree to get a replacement for a candle holder goblet that had been broken.  When I was looking around, I’d noticed that they had just gotten in an entirely new line of glass candle holders.  When I saw these square candle holders with straight sides, I just had to have them.  I’d seen something similar years ago, and I’ve been wanting to try my hand at it ever since.  And now that my flat backed glass table scatter collection has grown, (there are so many beautiful colors now) I was ready!

Scatter Candle with Glitter

Here’s what you’ll need to make your own: Continue reading

Silver & White Tablescape

When you’re a crafter or an artist, you don’t look at things the same way that other people do.  You always look at an item & say, “What can I do with this?”  When I was shopping at Walmart, I found this silver dance-wear fabric.  It really is a bright metallic silver.  (It just looks a little ‘purple’ because of the sun shining in my craft room window.)  As soon as I saw it, I just knew I had to have it.  I bought a couple of yards of it.

The girl that rang up my purchase looked at me a little strangely.  I told her what I had in mind & she said, “I thought maybe you were going to make a silver disco outfit”.  (she knows that I make a lot of my own clothing)

What I had in mind was a table cloth.  Seriously.  A table cloth.  Continue reading

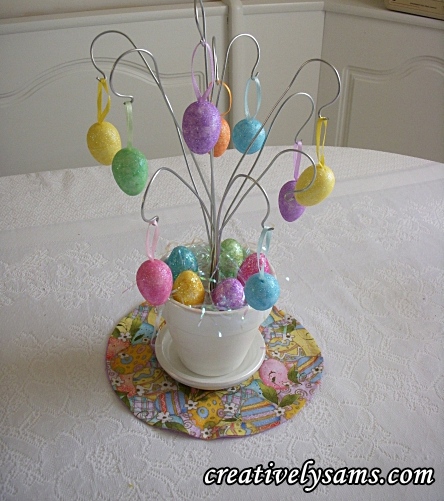
DIY Easter Egg – Ornament Tree

Since the theme for my Easter decor was going to be Easter Eggs, (because of the fabric that I chose)  I started to shop around for an Easter Egg Tree or an Ornament Stand.  I couldn’t believe the prices!  Not one of them were under $28.00!  And I didn’t like any of the designs.  My brain went into high gear to come up with an inexpensive tree that would go with my holiday decorations this year. This is what I came up with:

It’s a little time consuming, but can be customized to meet your needs & home colors.

Continue reading

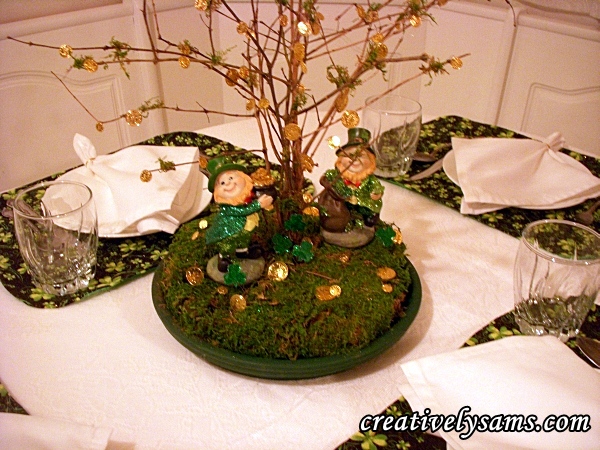
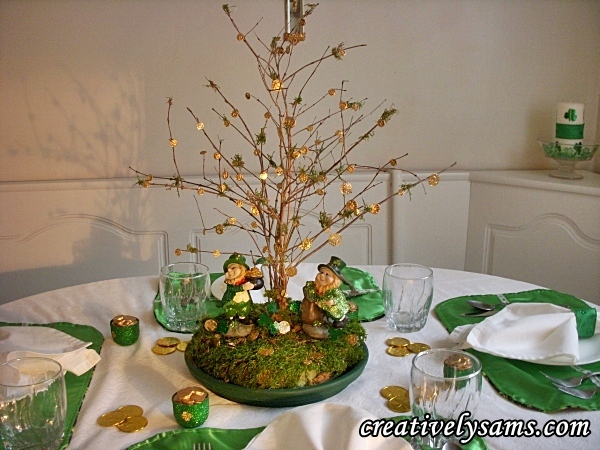
St. Patrick’s Day Centerpiece

Have you ever wondered where the ‘Wee People’ get the gold to fill their pots?  This was the idea that started this centerpiece. This centerpiece was a lot of fun for me to make, and my tablescape was decorated around it.  It all started with walk in the woods with my husband, an idea and an adorable little Leprechaun with his Pot of Gold.

I found all of my supplies at Michaels Arts & Craft storeSt. Patrick's Day Centerpiece

What you’ll need:

10″ terracotta plant saucer

hunter green acrylic paint

paint brush

Sahara foam (this is a dry foam used for artificial flowers & arrangements)

Bread Knife (it cuts through the foam easily)

Florist’s sticky clay

Florist’s tape (brown)

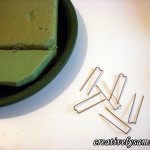
Floral Pins

Twigs (either bought or gathered on your own walk in the woods)

Sheet moss

glue gun & glue sticks

chop stick or wooden dowel (so you don’t burn your fingers)

Needle Nosed Pliers (so you don’t burn your fingers)

gold coins – assorted sizes (I found mine in the jewelry section)

Gold Holographic Glitter (optional) (I can never have enough glitter)

Green Floral Paddle Wire

Shamrock Glitter Stickers

Leprechaun with pot of gold

Leprechaun with pot of shamrocks

Here’s what you do:

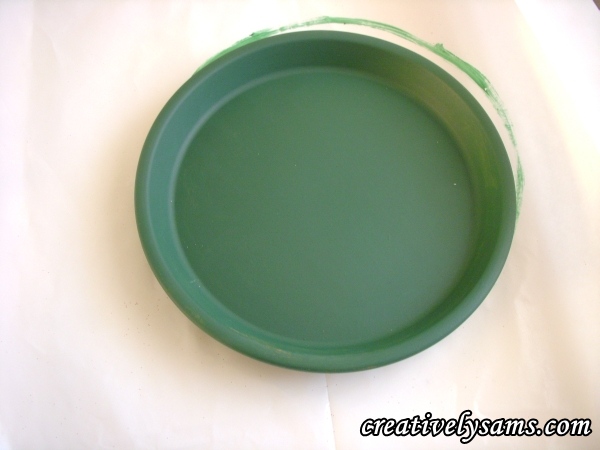
Apply one even coat of the hunter green acrylic paint to the plant saucer.  Apply a second coat if needed to cover any areas that you might have missed.
Gather your supplies together.
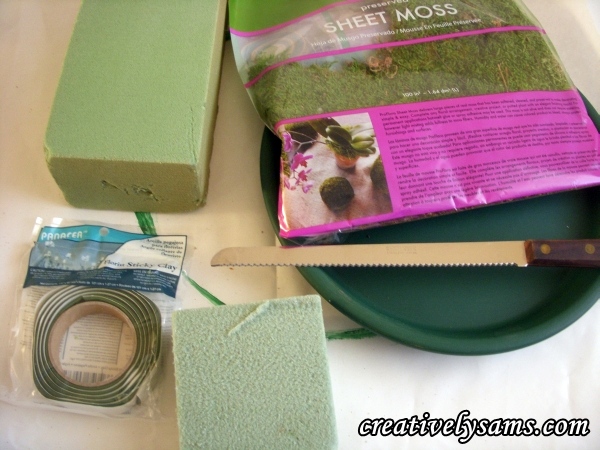
Place the foam in the saucer to judge how high you’ll need to cut it. Mark the foam using the knife.  After you’ve marked the height of the saucer on the foam, you’ll want to add about 1″.

.                 
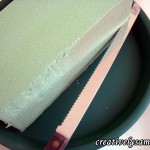
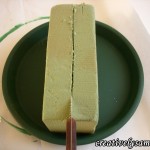
Add some strips of floral clay to the saucer.  This will help to anchor the foam to the saucer.  I also ran a bead of hot glue between the strips of clay to make sure it’s not going anywhere.  Continue to cut pieces of foam to fill the saucer. Use the floral pins to hold the pieces together.
                    

Making your little tree:

Gather branch twigs together, turning them to form a ‘tree’ shape. When you like the way you’ve arranged them, use the floral tape to hold them together & form the ‘trunk’ of the tree.
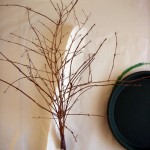
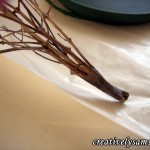
                      

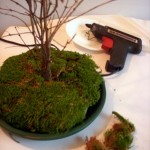
Make a small hole in the center of the foam to put you ‘tree’ in.  Start putting the sheet moss over the foam.  Leave the center open for now.  Apply hot glue to the base of your little tree. Put your little tree into the hole.  Hold it upright until the glue dries.  This only takes a second or two.
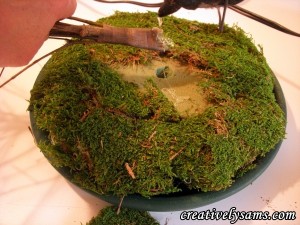
Apply the moss to the rest of the foam, using floral pins where needed.  (the floral pins will have to be put in at an angle.)  Apply moss to cover the ‘trunk’ of the tree.  This will conceal the floral tape.
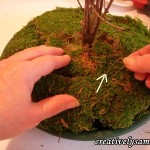
                        

Place your Leprechaun figurines where you want them.  The figurines have a small hole in the bottom.  Since I want to be able to use them for other things later, I wanted them to be anchored, but not permanent.  Remove the Leprechauns & glue a toothpick into the foam. Place the figurines on top of the toothpicks.
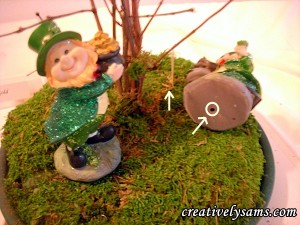
Place the figurines on top of the toothpicks.
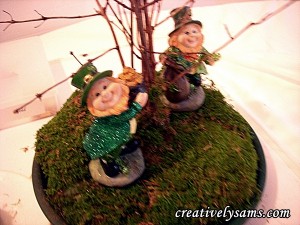
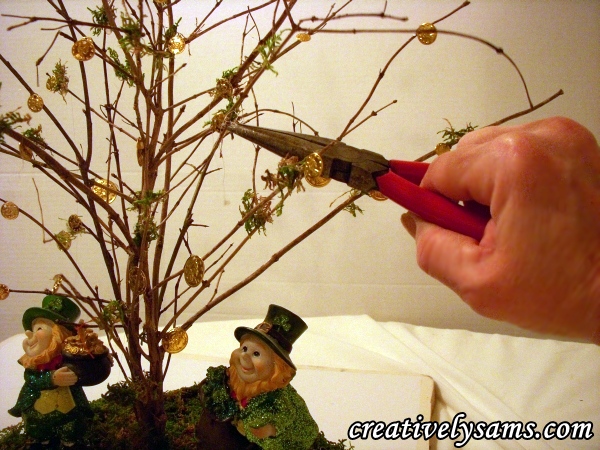
Glue some small bits of moss on to the branches to give it an ‘alive’ feeling. You might want to use the needle nose pliers for this.  (hot glue is HOT!)
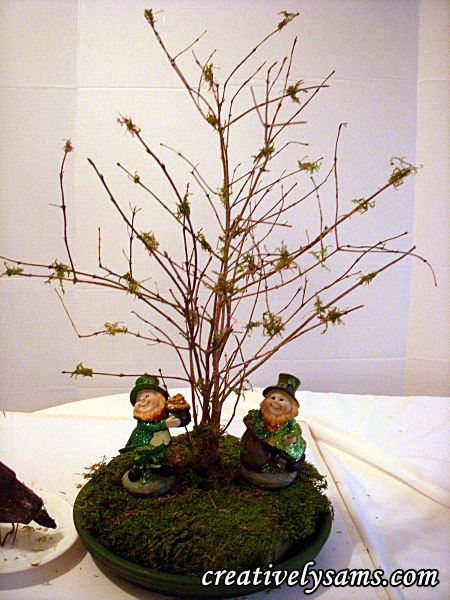
Using the needle nose pliers (please, the glue is really Hot) put hot glue on the backs of the coins & hold a coin on a branch until it dries/cools.  This only takes a second or two.  Repeat until you’re satisfied.
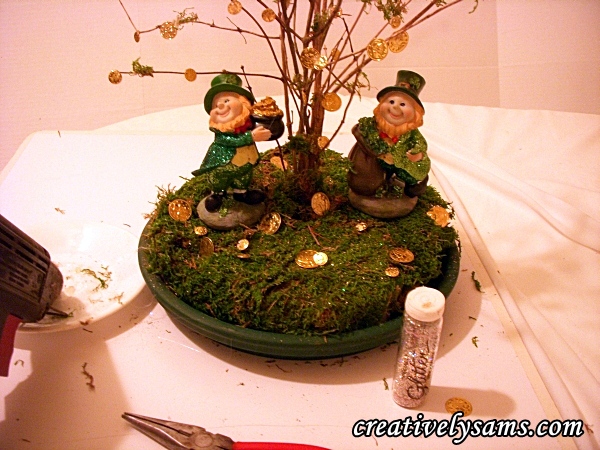
When I liked the finished ‘tree’, I added some gold holographic glitter. It’s not really necessary, but I can never have enough glitter. There is no glue needed for this.  Glitter sticks to the moss like crazy!  (as well as to everything else, just ask my husband)
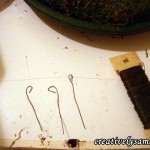
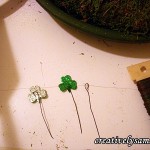
Cut some short pieces of the green paddle wire.  Make a loop on one end of the piece.  Press a shamrock sticker onto the wire loops.    


Press the ends of the sticker wire into the foam, close to the tree base.

There you have it!  A St. Patrick’s Day Centerpiece that tells a story of where the Wee People get their pots of gold.