St. Patrick’s Day Wreath

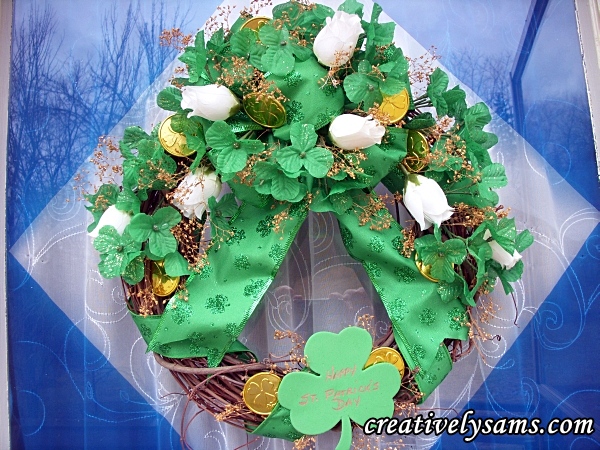
I’m still decorating for St. Patrick’s Day, so I thought I’d share the most recent addition to our home.  To welcome people, we needed a new wreath for the door.  Since the theme for this year is the pot of gold coins that the Wee People hide under the rainbow, I thought I’d continue the same theme for the door wreath.

St. Patrick's Day Door Wreath

I wanted to incorporate the lucky shamrocks, gold coins with some roses. (my Dad used to call me his “Wild Irish Rose”). Continue reading

Glitter!

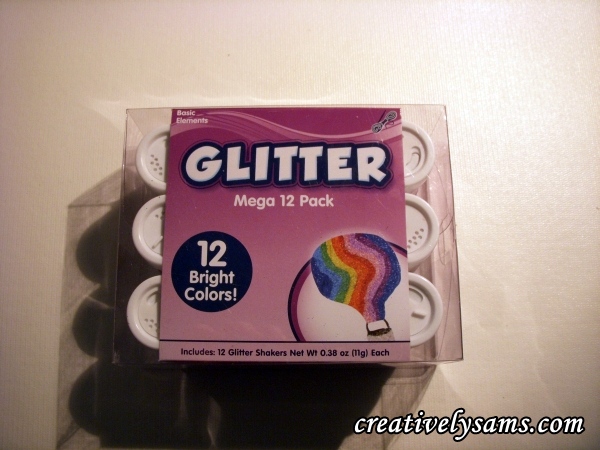
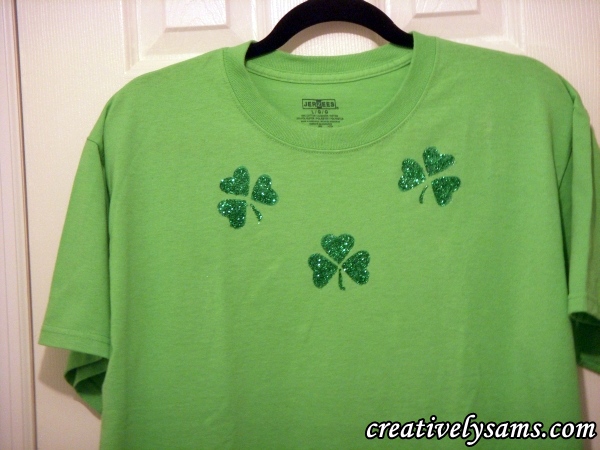
I love glitter, especially the fine glitter.  I can’t help it, I’m hopelessly addicted.  I’ve tried to stay away from it, but the sparkles just call to me.  To say that I was excited when Walmart got a new 12 pack in, is putting it mildly.  The colors are glorious. I’ve already used the green for the St. Patrick’s Day T-Shirt!

This is what I found:

12 pack of glitter

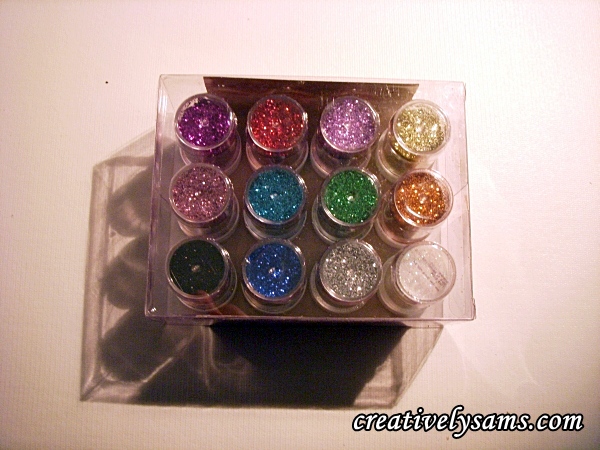
I was immediately in love when I turned the box over.

12 colors of glitter

There was purple, lilac, pink, red, blue, green, black, white, turquoise, gold, silver & copper.  All in a fine texture!  I had to have it! Continue reading

St. Patrick’s Day T-Shirt

Decorating a T-Shirt is easy when you do it like this.  All you have to do is make a simple stencil & paint it in.  You can make it anyway you want it.  You’re only limited by your imagination.

I did this step by step tutorial for a very dear friend who wants to make a T-Shirt for her first granddaughter.  (that’s why this tutorial is so packed with pictures) She’s still on the fence about becoming a crafter.  Once she tries this, I’m sure she’ll go on to many more.  (it really is that easy)

Continue reading

St. Patrick’s Day Candle

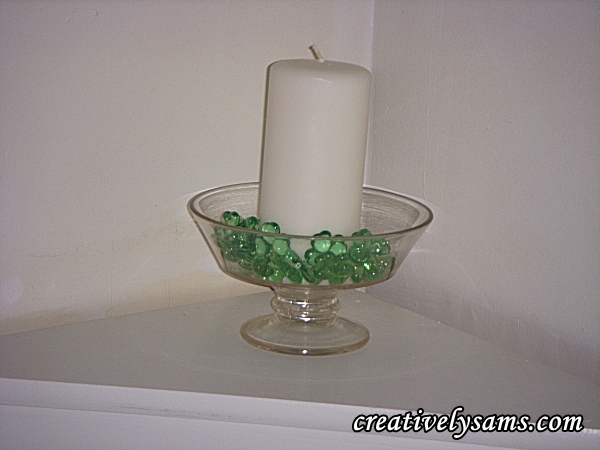
In the St. Patrick’s Day Tablescape you may have noticed a small candle in the background.

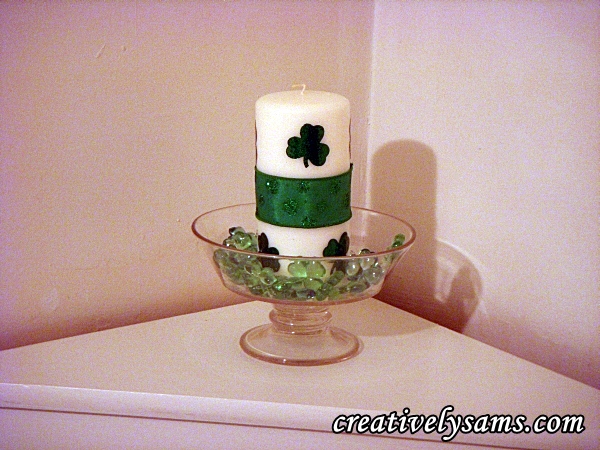
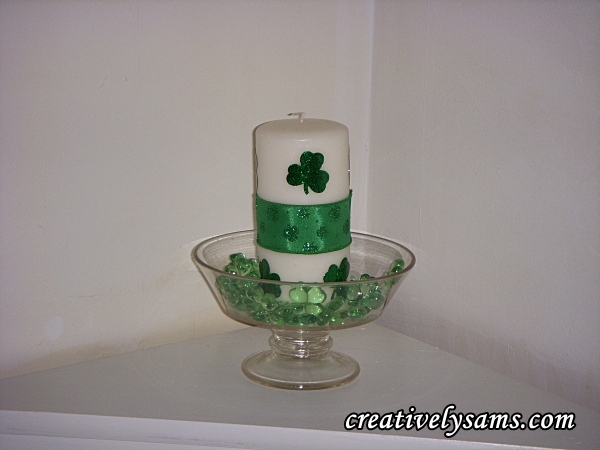
I used my Grandmother’s ‘depression’ bowl with a plain white pillar candle & some shamrock ‘scatter’.   It brought a pop of color into an empty corner.  And it worked for the tablescape with the patterned placemats. It was simple enough that it didn’t compete with the busyness of the placemats.

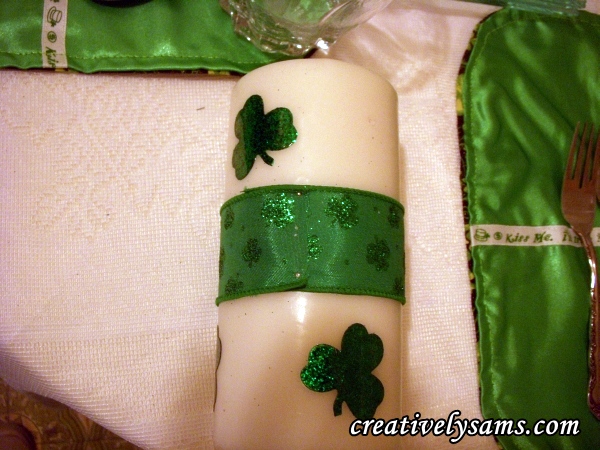
But, I just can’t leave well enough alone.  It just disappeared when I used the plain/solid sided placemats.  Plain white just wouldn’t do for me.  I had to add ‘more’. I used some wire edged shamrock ribbon and some glitter stickers to add color.

I measured the ribbon around the candle. Added about an inch to it.  I cut the ribbon and folded the end under, over lapping the raw edge.  Using two straight pins, I anchored the ribbon to the candle.  But that still wasn’t enough.  So I added some glitter shamrock stickers above and below the ribbon.  That was all it needed.  Now it really adds a pop of color to the plain, boring corner of the room.

It’s now strong enough that it doesn’t disappear anymore.

I love an easy project!  This could be used for any decor, as an accent piece or a centerpiece.  You can use this idea anytime.  Whether it’s for everyday or a holiday.  Just change up the ribbon to go with what ever you’re decorating for!  You can have so much fun with this one! Continue reading

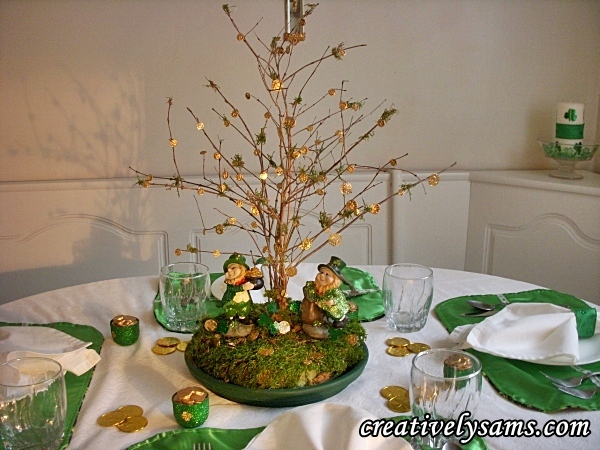
St. Patrick’s Day Centerpiece

Have you ever wondered where the ‘Wee People’ get the gold to fill their pots?  This was the idea that started this centerpiece. This centerpiece was a lot of fun for me to make, and my tablescape was decorated around it.  It all started with walk in the woods with my husband, an idea and an adorable little Leprechaun with his Pot of Gold.

I found all of my supplies at Michaels Arts & Craft storeSt. Patrick's Day Centerpiece

What you’ll need:

10″ terracotta plant saucer

hunter green acrylic paint

paint brush

Sahara foam (this is a dry foam used for artificial flowers & arrangements)

Bread Knife (it cuts through the foam easily)

Florist’s sticky clay

Florist’s tape (brown)

Floral Pins

Twigs (either bought or gathered on your own walk in the woods)

Sheet moss

glue gun & glue sticks

chop stick or wooden dowel (so you don’t burn your fingers)

Needle Nosed Pliers (so you don’t burn your fingers)

gold coins – assorted sizes (I found mine in the jewelry section)

Gold Holographic Glitter (optional) (I can never have enough glitter)

Green Floral Paddle Wire

Shamrock Glitter Stickers

Leprechaun with pot of gold

Leprechaun with pot of shamrocks

Here’s what you do:

Apply one even coat of the hunter green acrylic paint to the plant saucer.  Apply a second coat if needed to cover any areas that you might have missed.
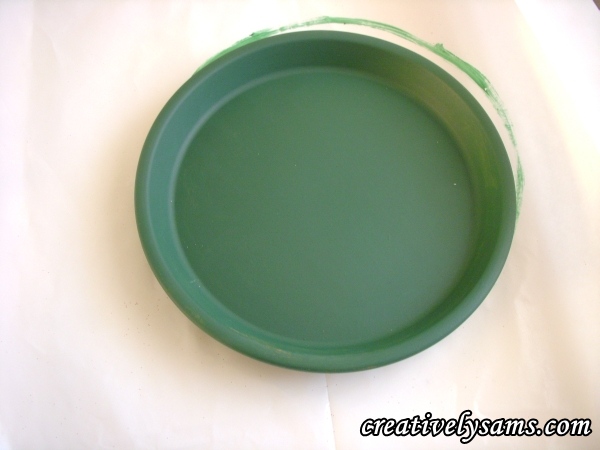
Gather your supplies together.
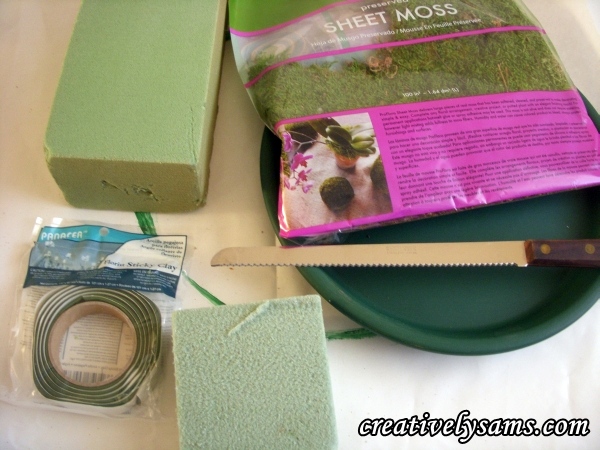
Place the foam in the saucer to judge how high you’ll need to cut it. Mark the foam using the knife.  After you’ve marked the height of the saucer on the foam, you’ll want to add about 1″.

.                 
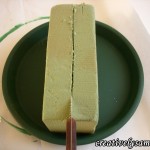
Add some strips of floral clay to the saucer.  This will help to anchor the foam to the saucer.  I also ran a bead of hot glue between the strips of clay to make sure it’s not going anywhere.  Continue to cut pieces of foam to fill the saucer. Use the floral pins to hold the pieces together.
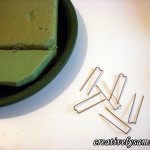
                    

Making your little tree:

Gather branch twigs together, turning them to form a ‘tree’ shape. When you like the way you’ve arranged them, use the floral tape to hold them together & form the ‘trunk’ of the tree.

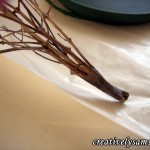
                      

Make a small hole in the center of the foam to put you ‘tree’ in.  Start putting the sheet moss over the foam.  Leave the center open for now.  Apply hot glue to the base of your little tree. Put your little tree into the hole.  Hold it upright until the glue dries.  This only takes a second or two.
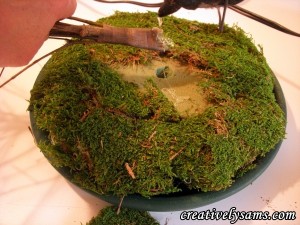
Apply the moss to the rest of the foam, using floral pins where needed.  (the floral pins will have to be put in at an angle.)  Apply moss to cover the ‘trunk’ of the tree.  This will conceal the floral tape.

                        

Place your Leprechaun figurines where you want them.  The figurines have a small hole in the bottom.  Since I want to be able to use them for other things later, I wanted them to be anchored, but not permanent.  Remove the Leprechauns & glue a toothpick into the foam. Place the figurines on top of the toothpicks.
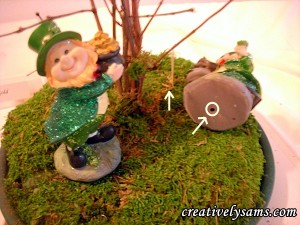
Place the figurines on top of the toothpicks.

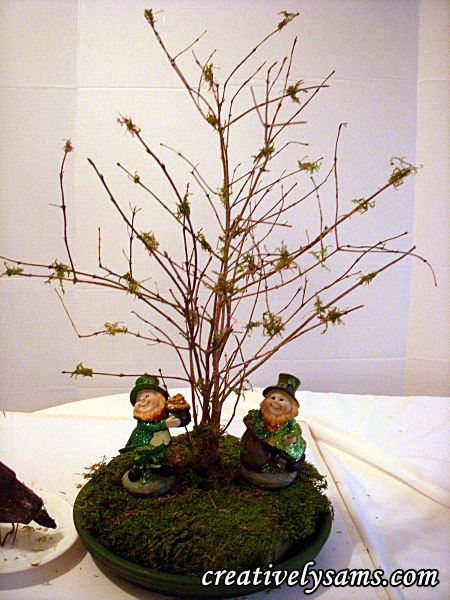
Glue some small bits of moss on to the branches to give it an ‘alive’ feeling. You might want to use the needle nose pliers for this.  (hot glue is HOT!)
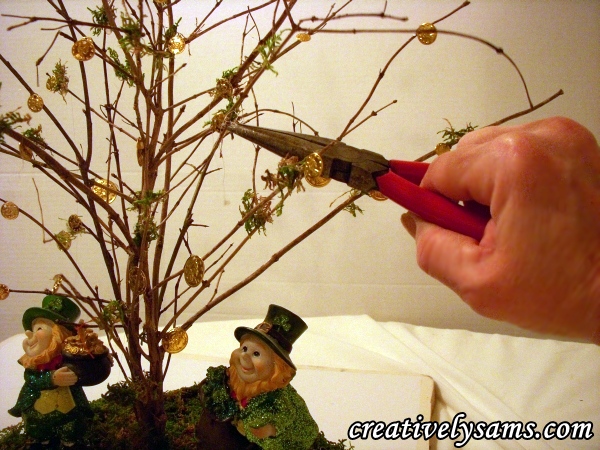
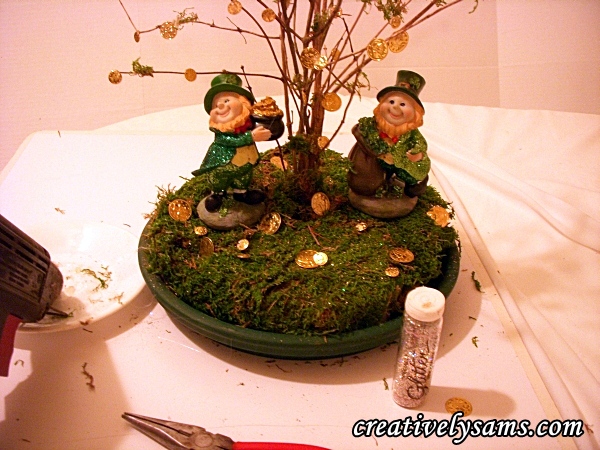
Using the needle nose pliers (please, the glue is really Hot) put hot glue on the backs of the coins & hold a coin on a branch until it dries/cools.  This only takes a second or two.  Repeat until you’re satisfied.
When I liked the finished ‘tree’, I added some gold holographic glitter. It’s not really necessary, but I can never have enough glitter. There is no glue needed for this.  Glitter sticks to the moss like crazy!  (as well as to everything else, just ask my husband)
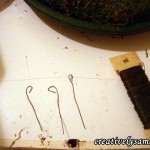
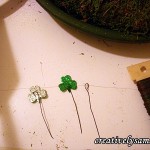
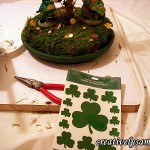
Cut some short pieces of the green paddle wire.  Make a loop on one end of the piece.  Press a shamrock sticker onto the wire loops.    


Press the ends of the sticker wire into the foam, close to the tree base.

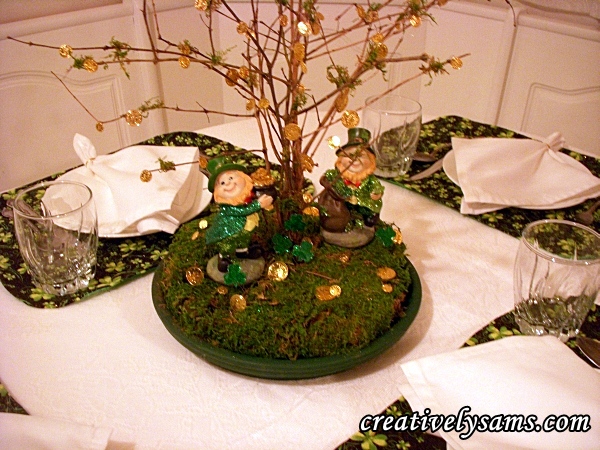
There you have it!  A St. Patrick’s Day Centerpiece that tells a story of where the Wee People get their pots of gold.


St. Patrick’s Day Reversible Placemats

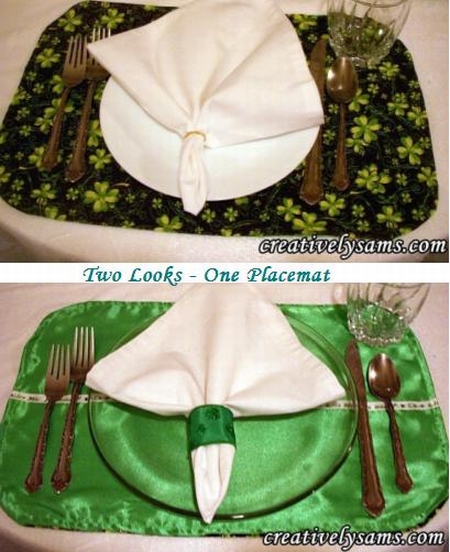
I don’t know of a better way to add color to a tablescape than by using placemats.  I usually make my own because I can customize them to my tastes and they are almost always less expensive than store bought.  Another reason that I like making reversible placemats is because it takes less room to store them. (store 4 instead of 8)  It’s hard enough to organize your home as it is, especially when you don’t have that much room to begin with.

St. Patrick's Day Reversible Placemat

For this one I used the Oval Placemat Pattern from a previous post.

What you’ll need:

1 yard of patterned fabric

1 yard of solid fabric (I used costume satin.  It’s easily washed & has intense color)

Matching thread

Sewing machine

Straight pins 

Ribbon (optional) (I used 1 roll of 9′ long)

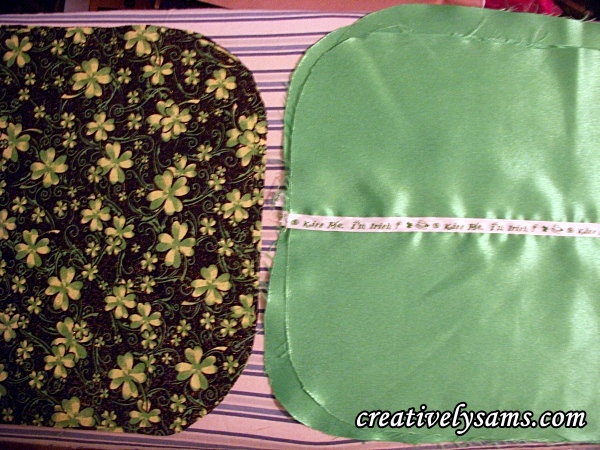
Pin the pattern to your fabric & cut 4 of the placemats from the patterned fabric & 4 from the solid fabric.


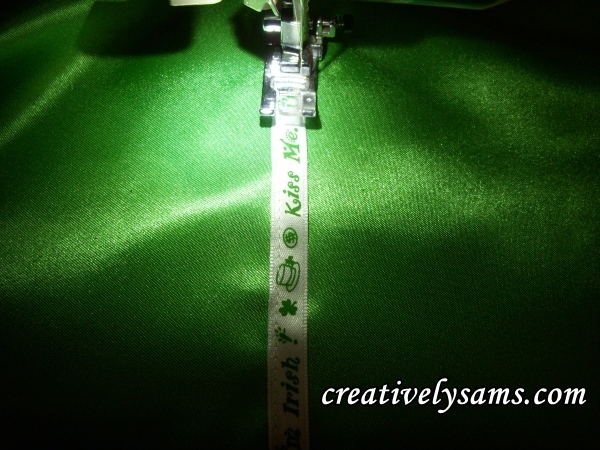
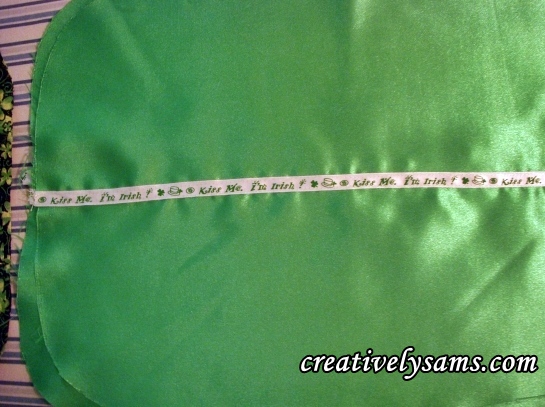
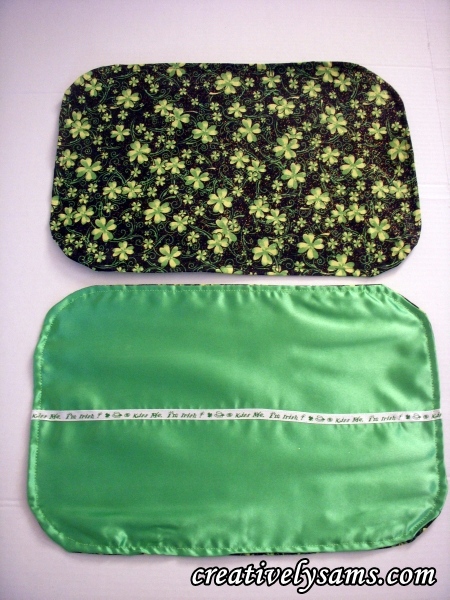
To mark the placement for the ribbon, I folded the pattern piece in half. Then I laid the pattern on the cut placemat piece & used the bottom of the fold as a guide.  (I chose this because the ribbon was printed with words. I wanted to be able to read it through the plates)  Pin the ribbon in place.

Sew the ribbon to the solid placemat fabric, stitching close to the edges.

Sew the ribbon to all of the solid placemat pieces.

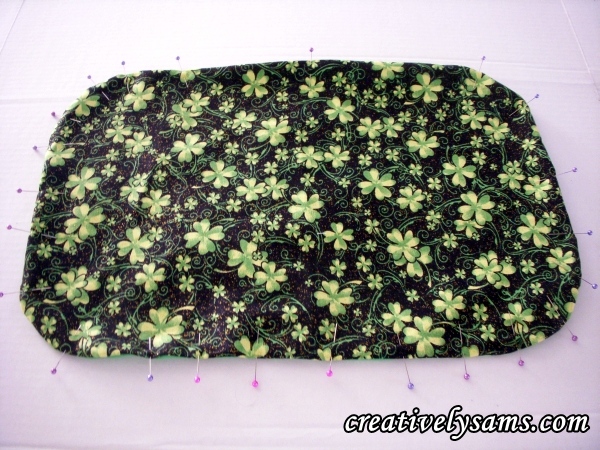
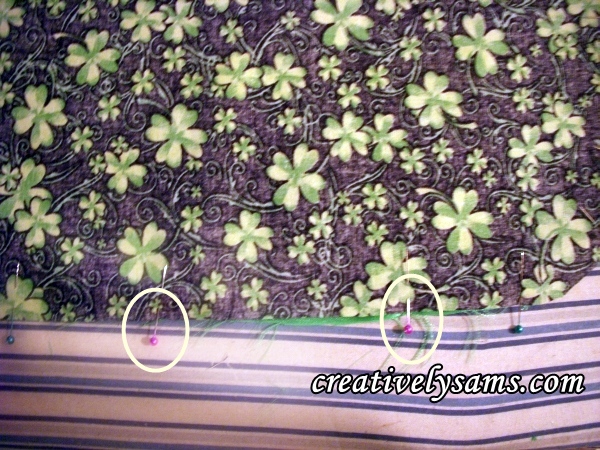
Place 1 solid placemat piece on top of 1 patterned piece, right sides together.  Pin in place, leaving an opening for turning.  Repeat for all 4.

A little trick that I learned a long time ago, is to use 2 pins to mark the place where I want to begin sewing & where to end sewing.  You need to leave a space opened to be able to fit your hand inside to turn the placemats to the right side.  There’s nothing more frustrating than to sew an item, only to realize that you’ve forgotten to leave an open space to turn it. It’s such a waste of time to have to rip out stitches.

Sew all the way around the placemats, starting at one ‘different colored pin’ & finishing at the other pin.   (to leave the opening)  I usually sew about 1/4″ from the edge.  Turn the placemat, right side out.  Pin the opening closed.  Top stitch around the placemat, using matching color thread.  Top stitching the placemat closes the opening & keeps the edges of the placemat crisp.  Press lightly.

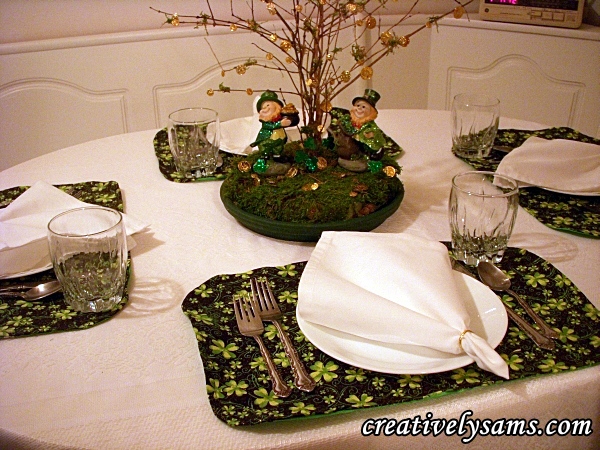
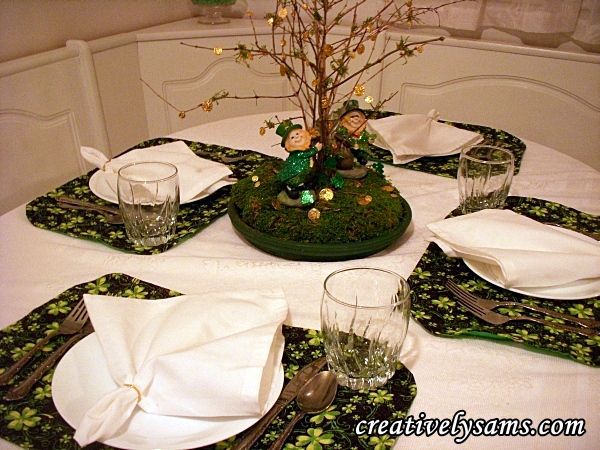
Finished St. Patrick's Day Placemats

Use the fabrics that speak to you.  These are for your home.  Customizing your placemats is easy.  Make them your own & have fun with this.

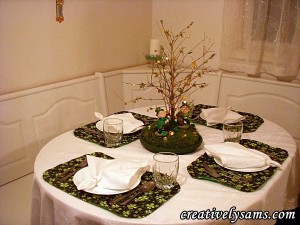
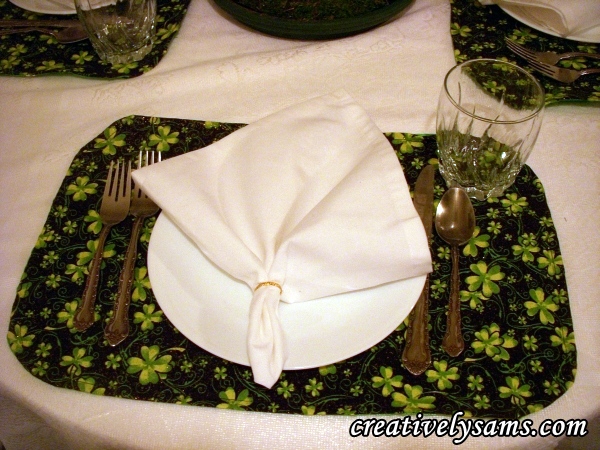
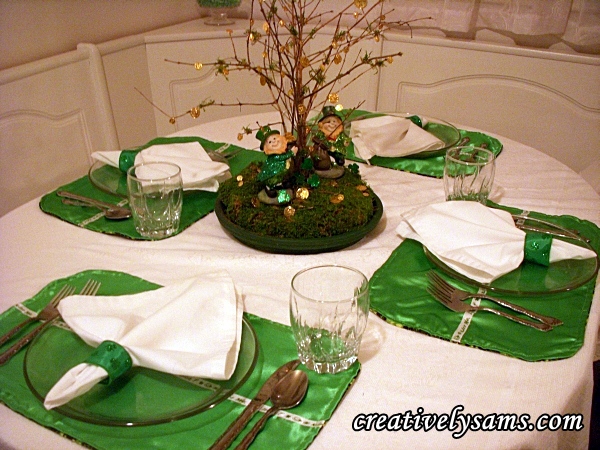
St. Patrick’s Day Tablescape

St. Patrick’s Day is almost here.  It’s time to decorate for another holiday!  I love decorating for the holidays.  This tablescape was so much fun to make.  Like I’ve said before, I can see a project finished in my mind’s eye.  This one took me on a search for a Leprechaun.  It all came together when I stopped at Michaels Arts & Crafts store.

It was so much fun searching for the fabrics that I wanted.  (I found these at JoAnn Fabrics)  Naturally, since I’m a sewer, I had to make some reversible placemats (which I’ll show you how to make in the next post).  And the St. Patrick’s Day Centerpiece is one that I just fell in love with.

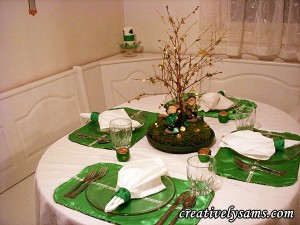
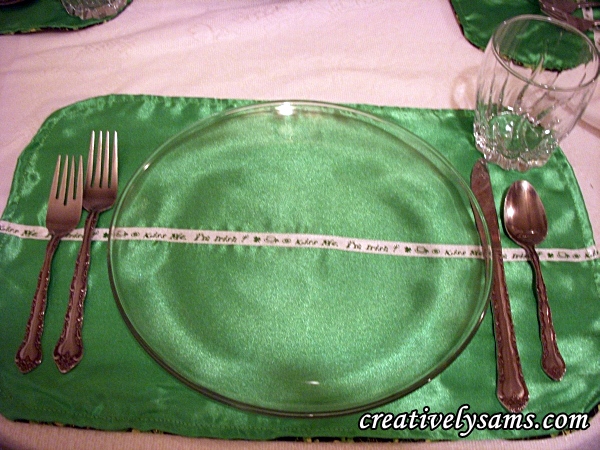
I like having two looks,  a patterned side & a solid side.

I chose clear plates for this side so the ‘Kiss Me, I’m Irish’ ribbon would show through.

Add some favors for fun.


Add some ‘coin’ scatter to finish it off.

As usual, I’ll be showing you how to make the placemats, the centerpiece & the candle that’s in the background.

Hope you enjoyed seeing this as much as I enjoyed making it.

Happy St. Patrick’s Day everyone!

Winter Emergency Kit – part 2

In the previous post, I told you about my Winter Emergency Kit that I keep in the back seat of my car and how I organized it.  That one is kept there to make it easily accessible in case of emergency.

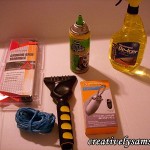
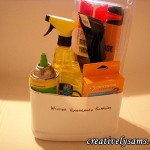
This is part 2.  The Winter Emergency Kit for the Trunk of the car.  I’ll show you what I keep in my trunk all Winter long & how I organized it.

What I use:

Salt (in case you’re stuck on ice)

Shovel (mine is a small folding shovel that can be found in the camping section )

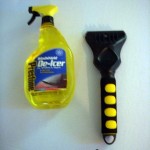
De-Icer  (I can not tell you how many times my doors have frozen shut, but my trunk will open)

An ice scraper (not only does this scrape the ice & snow from windshield, but will help to make a ‘channel’ around the door for the De-icer to do its job)

Fix-a-Flat (Emergency Flat Tire Repair)

Reflective Triangles (or road flares)

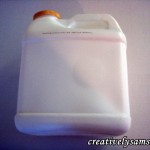
I put the bag of salt into an empty kitty litter container to keep it dry & I’m always afraid that a plastic bag will tear & spill.

(I also keep one by the front & back door of our home)


And for the crafty section:

Empty Cat Litter Jugs (I have cats, so I’m always looking for new uses for the empty containers instead of recycling them).  If you don’t have a cat, I’m sure you have a friend or neighbor who would be more than willing to save theirs.  (or you could use a box, bucket, tote etc..)

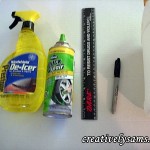
Cutter (Razor Blade or Exacto Knife)

Ruler

Sharpie Marker

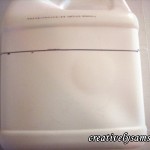
Empty a cat litter container & Remove the Label:


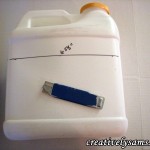
Now, lay out your supplies to judge the height that you want the container to be:

Mark the container with the Sharpie Marker.  Measure the height that you’ve chosen all the way around the container using the ruler & Sharpie.  Mine was 5 1/2″ high.  Connect the dots all the way around.


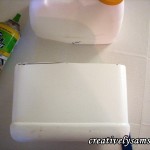
Using the razor/cutter, cut the container on the solid mark you’ve just made.  The cutter is sharp.  Please be careful.


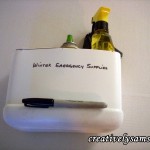
Label the container, if you wish.  (I’m a little obsessive, so I label it)


Pack the container:

It’s an easy kit to put together & something that could keep you safe or save your life. I honestly think that every vehicle should have one.  (There is also an extra blanket & a set of booster/jumper cables kept in the trunk)

Winter is beautiful to look at, but can be dangerous. Stay safe out there.


Happy Creating everyone!

I’ll be joining:

We Heart Organizing


Winter Emergency Kit

When I made this Emergency Kit for my car, my son laughed at me.  He wasn’t laughing when he broke down in 7 degree weather and his car had no power for heat.  At 21 years old, boys men think they’re invincible.  It could never happen to them. It was going to take AAA 3 hours to get to him.  Luckily, his Dad made it in 20 minutes.  By the time his Dad got to him, he was already seeing his breath in front of him. Organization is key to your Winter Emergency Kit…. I’m making one for him.

Winter Emergency Kit for the Car

Winter Emergency Kit

This box stays behind  the driver’s seat, on the seat, so it is easily accessible.  There is also a universal cell phone charger kept in the glove compartment.

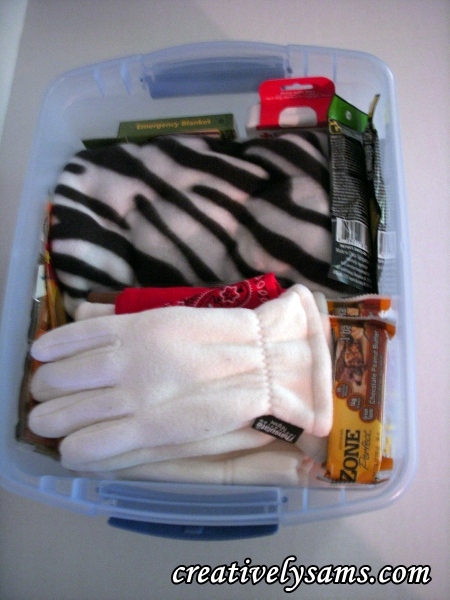
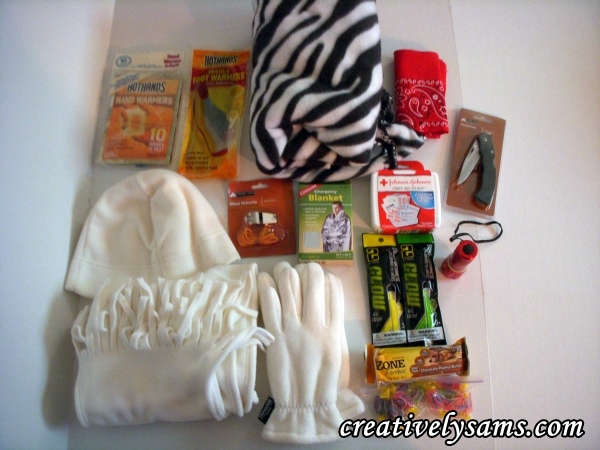
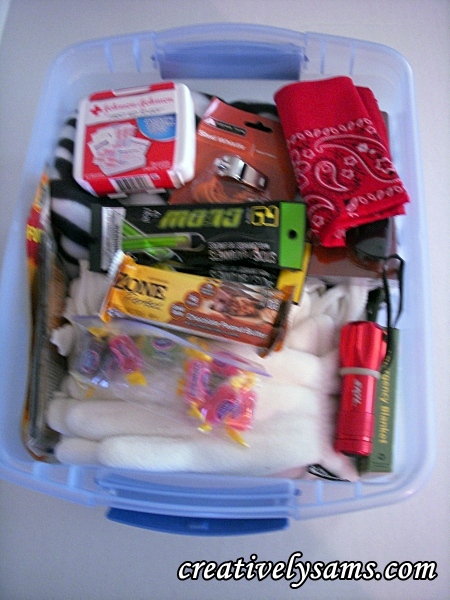
This is what I put into my kit:

Plastic Tote (to put everything in)

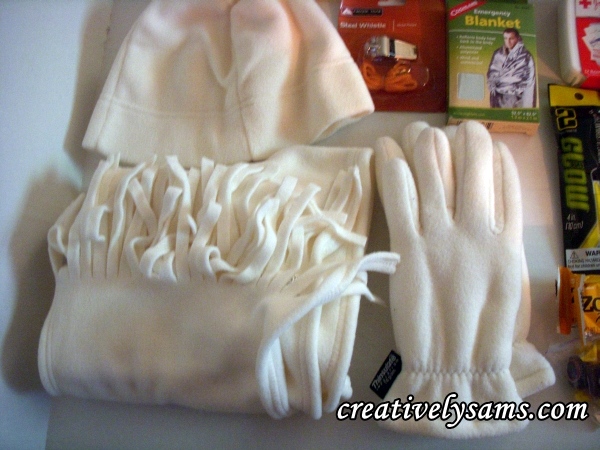
Hat, Gloves, Scarf

Fleece Blanket

Mylar Emergency Blanket (keeps the warmth in & the cold out)

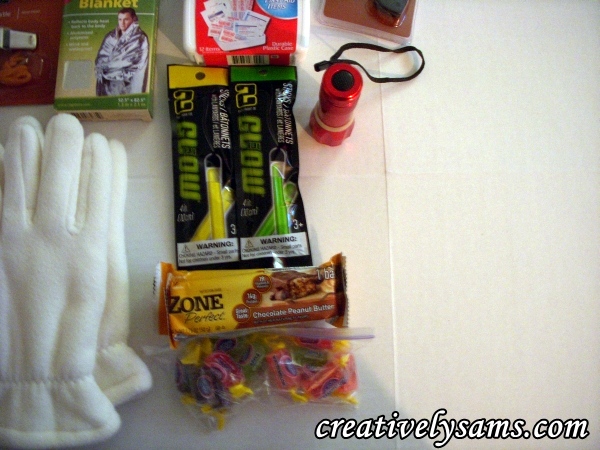
Flashlight, Glow Sticks (in case the batteries die out)

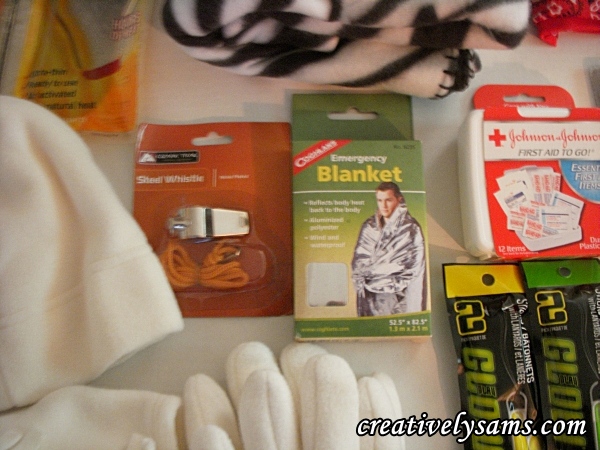
Whistle (to alert passerby’s if the car can’t be seen)

Hot Hands & Hot Hands Foot Warmers

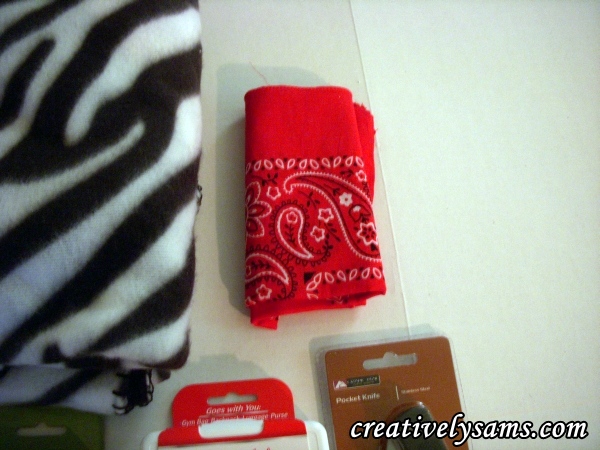
Red Bandana (to tie to outside of car)

Knife (God forbid that the seat belt gets stuck)

Hard Candy & Power Bars (to keep energy up)

(we always carry a bottle of water with us when we travel anywhere)

The supplies for the Winter Emergency Kit

Close up of extra scarf, hat & gloves

More of the supplies used for Emergency Kit

Blanket & Bandana for the Winter Emergency Kit

Hot Hands & foot warmers

Whistle, Blanket, First Aid Kit for Winter Emergency Kit

Completed & Organized Winter Emergency Kit

The one that I’m making for my son will be in a back pack. A tote isn’t as ‘manly’ as he would like.

I also have a small Emergency Kit for the trunk, which I will post tomorrow.

Snow is beautiful to look at & walk in, but winter can be very scary & deadly.  Stay safe out there & be prepared.

I’m joining:

We Heart Organizing


Happy Valentine’s Day

I want to wish everyone a very Happy Valentine’s Day.

Things around here have been so busy.  We’ve been working on the Sewing/Crafts Room ReDo.  (photos coming soon) and lots of St. Patrick’s Day decorations. Stay tuned for more tutorials and a tablescape or two.

Please let me know if you have any special requests for projects.  If I know how to do it, I’ll be sure to include it.